Generate Project Wizard
Generate Project Wizard guides you through a wizard driven, drag and drop process to build an integration solution - whether it is API based, scheduler based or otherwise.
|
Before proceeding further, please familiarize yourself with Source, Processor and Application Patterns. You would need to seed at least one pattern of each type into your Exchange before you can follow along. |
Steps to create the project using the Generate Project wizard are:
-
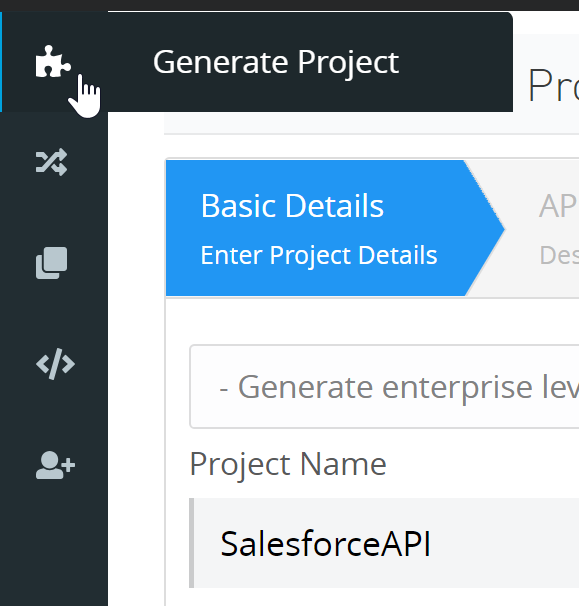
Select the Generate Project option from the IZ Accelerator menu to launch the wizard.
-
Enter the project name, system type, select whether you would like to start with a project template or start from scratch in the Basic details section of the wizard. Click next after completing the fields.

The only difference between selecting a template and proceeding without a template will be the pre-filled flows and patterns in the APIs & Patterns wizard step. Please refer to Generate Template topic for more details on creation of templates.
-
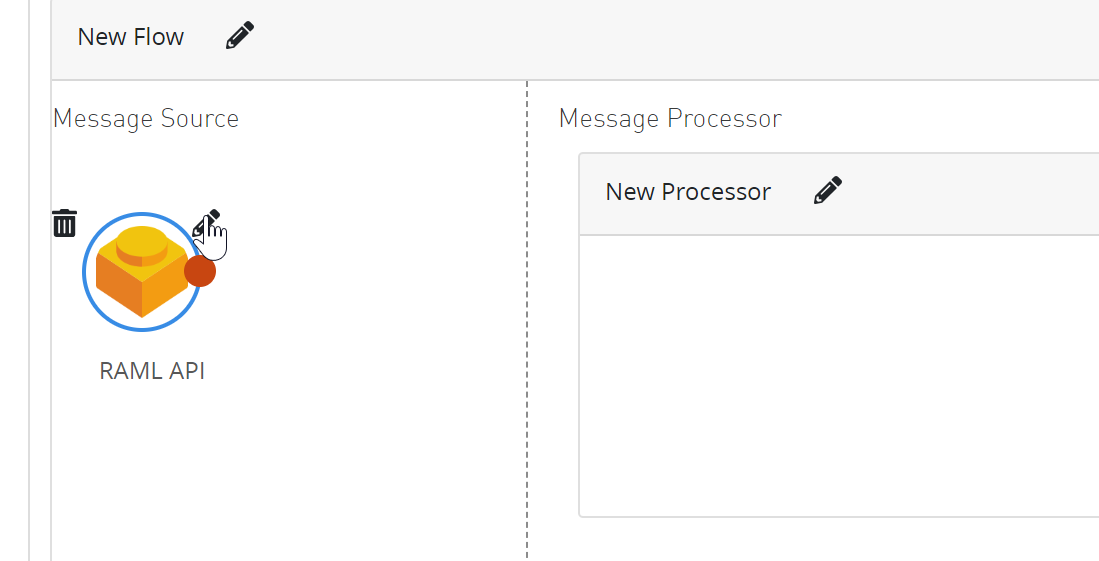
Source patterns seeded in Exchange should be visible in the APIs & Patterns wizard step. Drag and drop a source pattern (in this example RAML API source pattern) to the source section of a flow as shown below.

If you do not see any source patterns, it most likely means either the user doesn’t have access to query exchange assets or there are no source patterns defined in the exchange. Please refer to Pattern Generator section to create a new pattern or Seeding Patterns section to seed patterns from Integral Zone to use as starting point.
-
Click on edit icon on the source pattern to customize the pattern further.
Depending on the type of source pattern, you might not need to edit the pattern further. This step is needed only for advanced patterns which take user input and configuration to work further.
-
Search for the API you would like to implement in the source section. Select the API checkbox and click the button to select the API and return to the wizard.

-
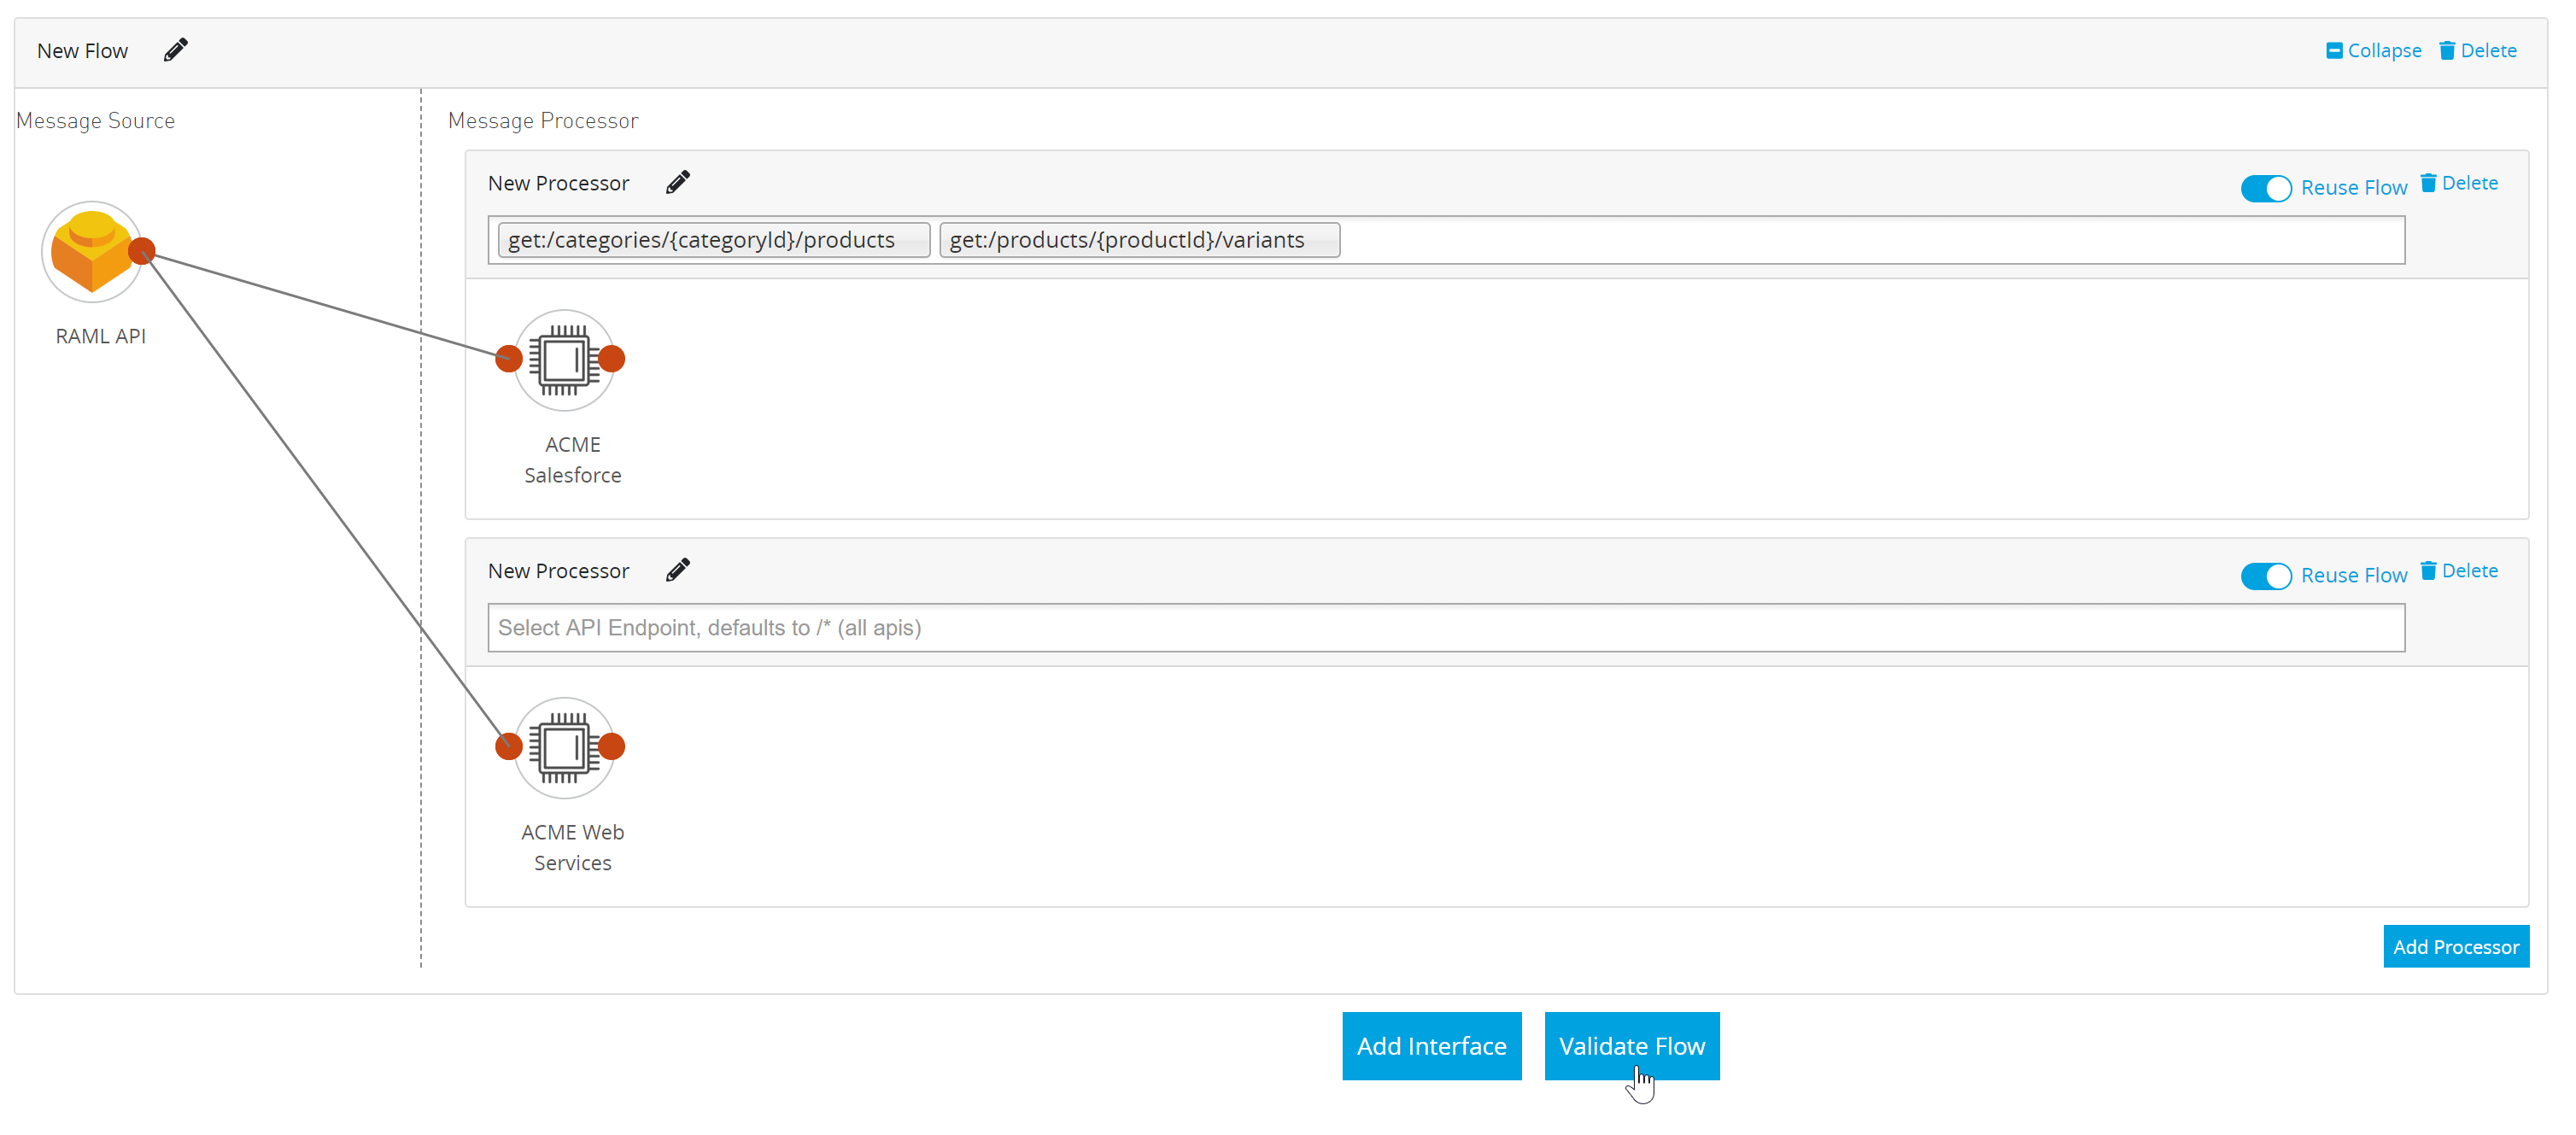
Depending on the type of source pattern, additional changes might be done to the processor section of the flows. In this example, once the API has been selected, the RAML will be parsed and all the different resources of the API will be added to the processor as shown below.

-
If you do not select any specific route, any processor pattern added to the processor section of the flow will apply to all resources. If you would like apply different logic to different resources, add additional resources as required by clicking "Add Processor" button and configure it further as shown below.
-
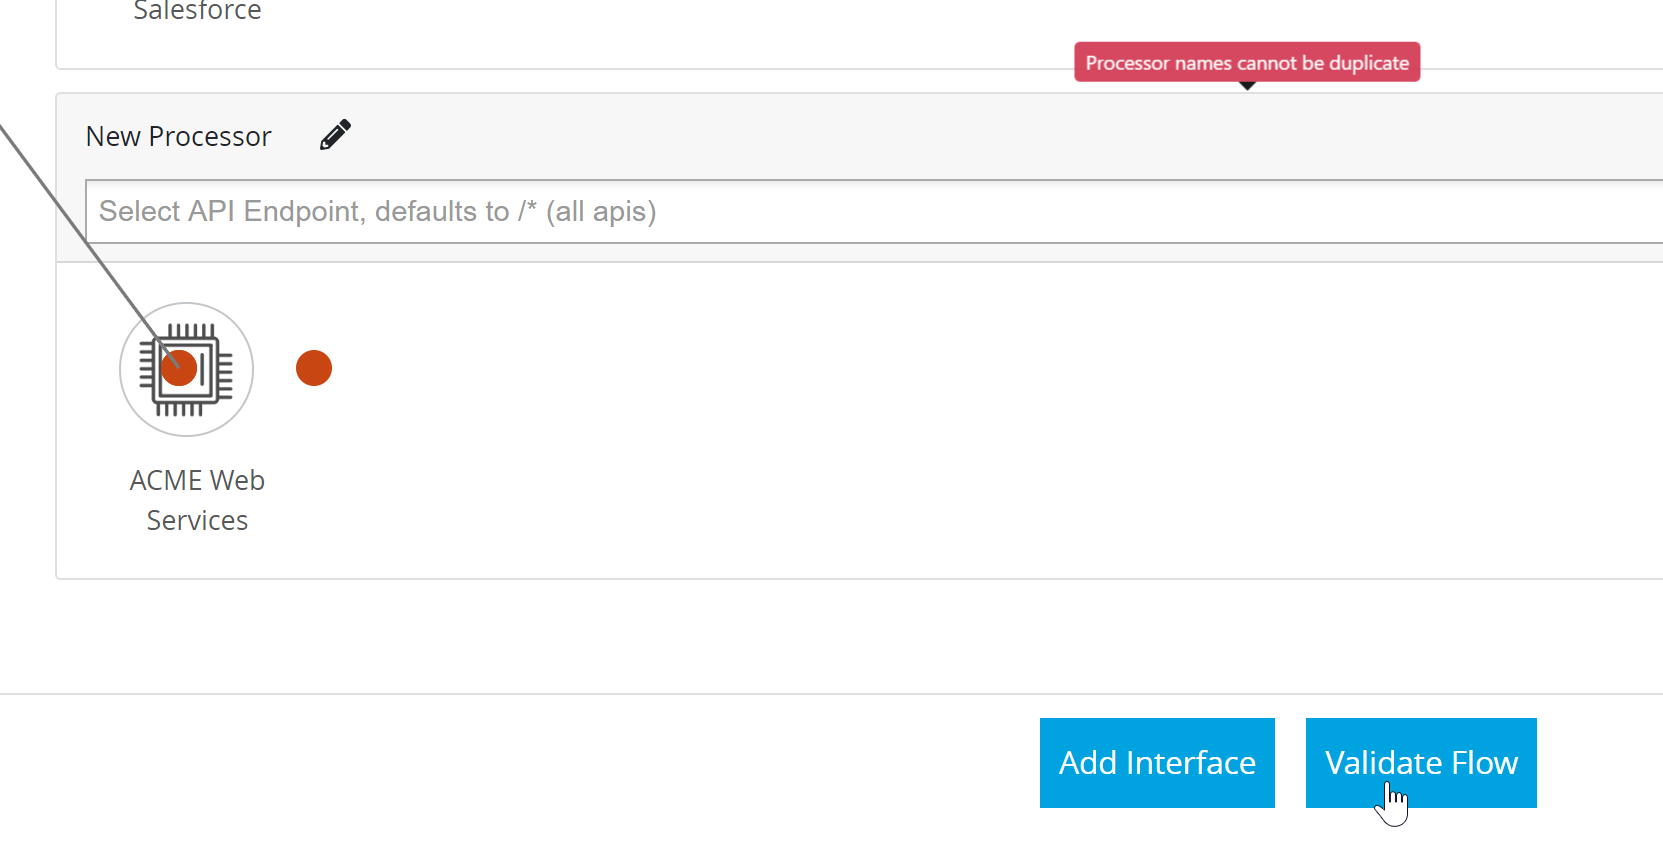
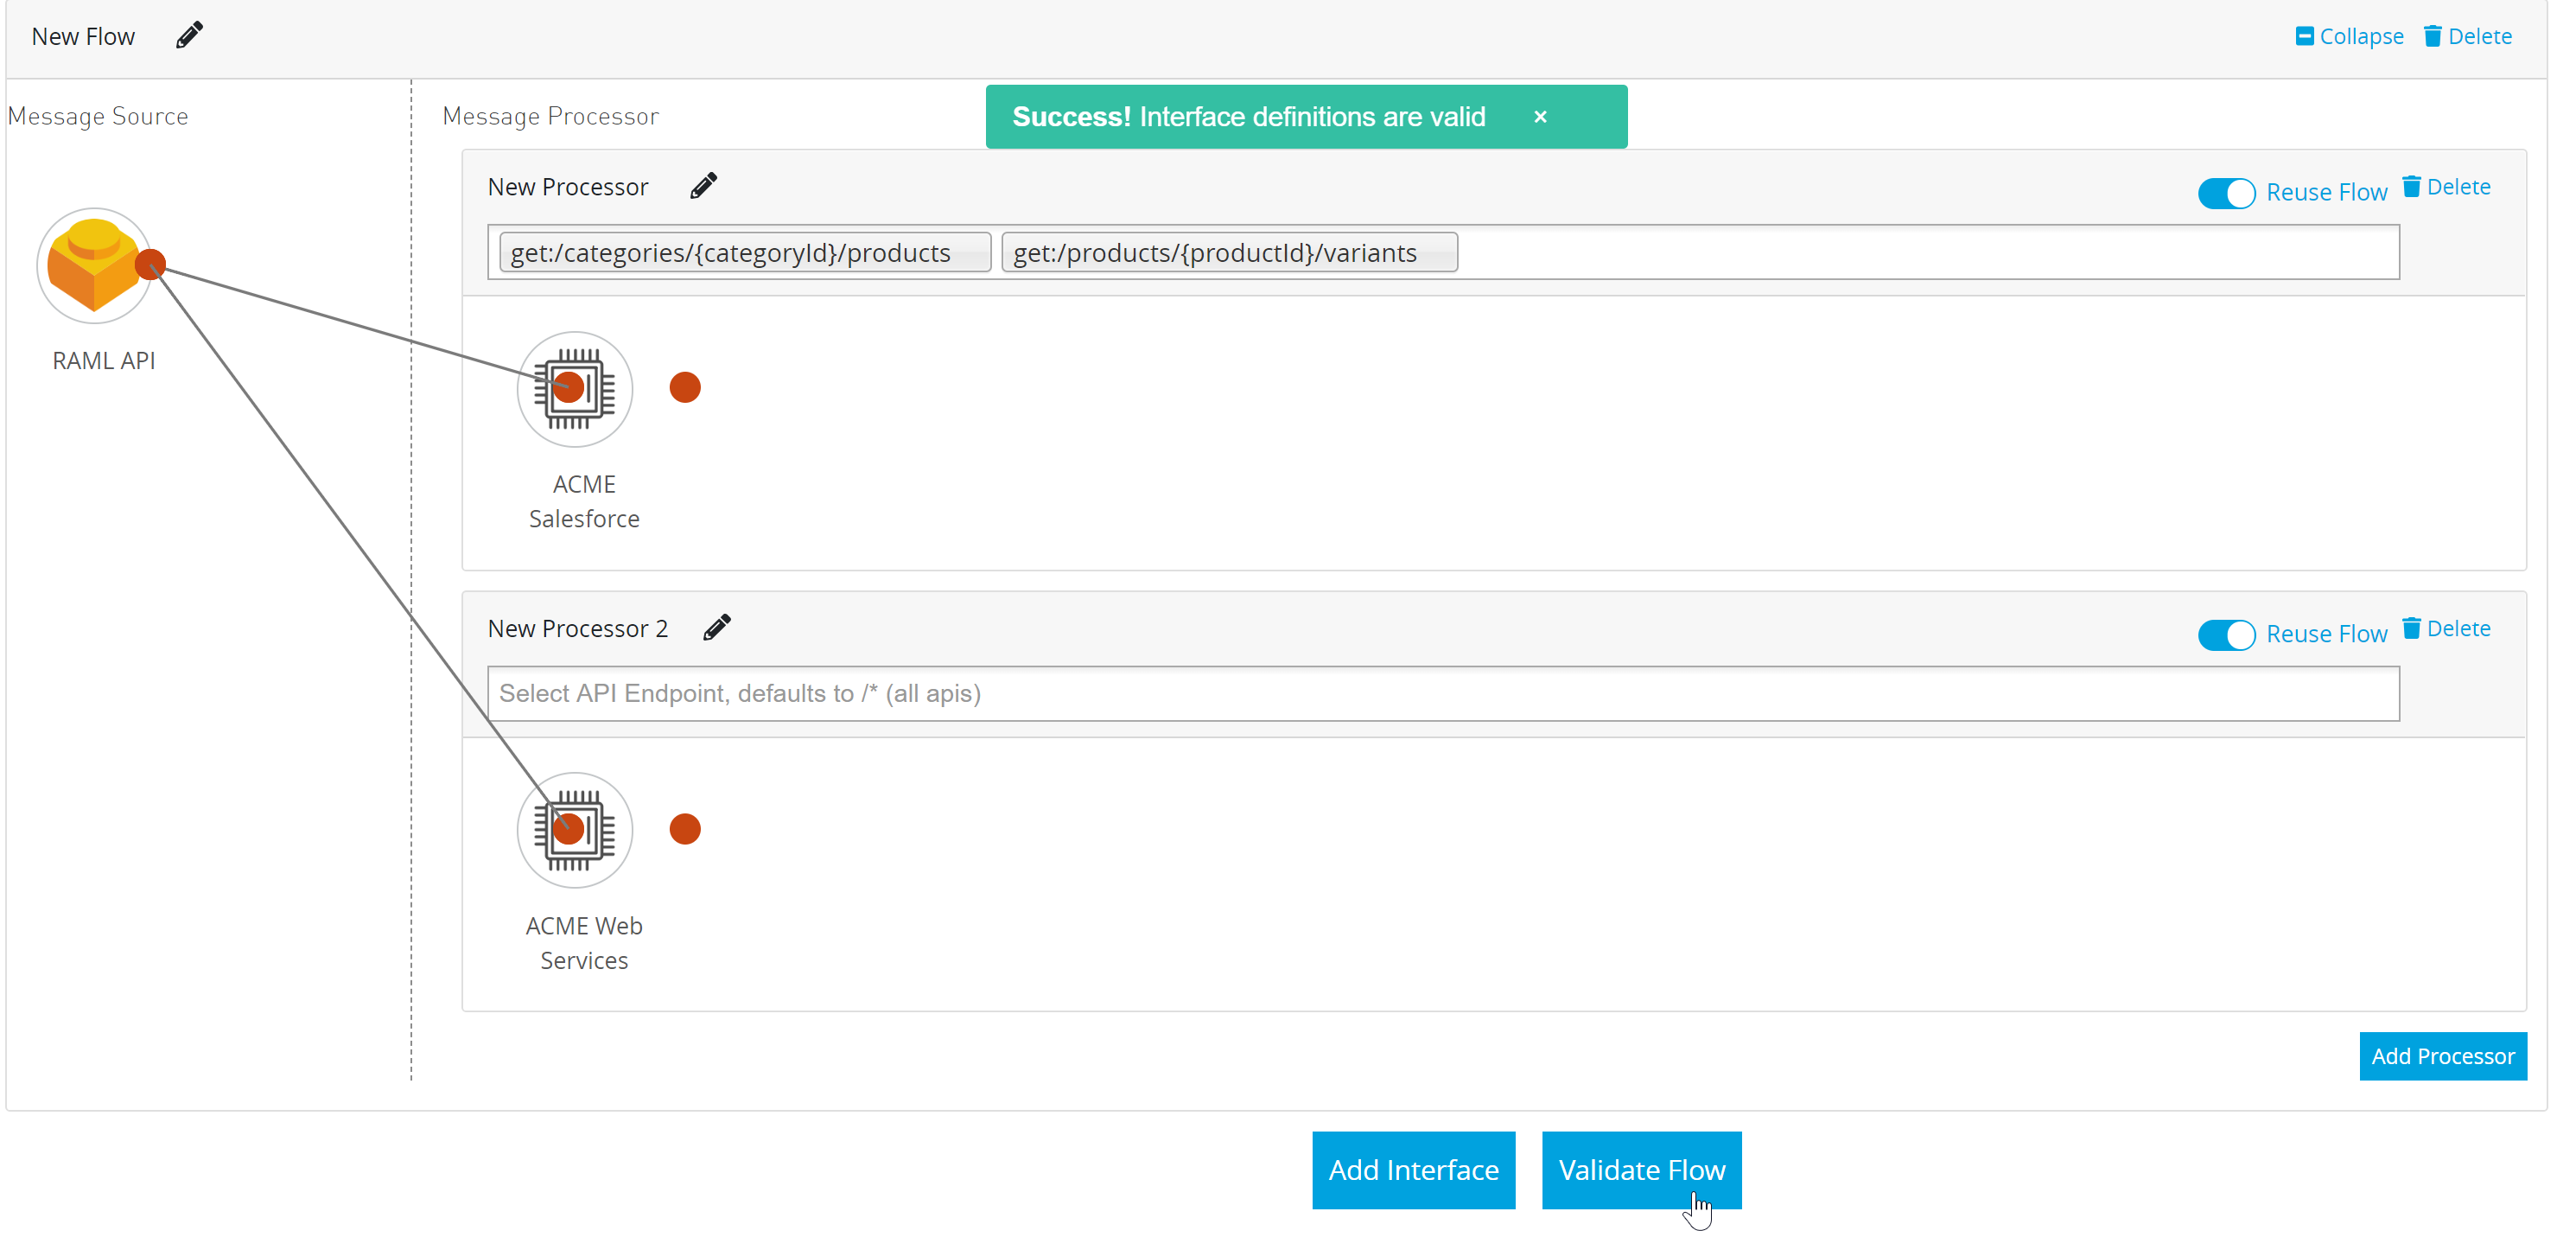
After making changes to the flow, you can click the "Validate Flow" button to validate the configured flows. In case of errors, the wizard shows the error message above the pattern with a clear description.
-
You can fix the configuration errors (in this example there were more than one processor with the same name), you can validate the flow again. You won’t be able to proceed to the next step till the interface flows are valid.
-
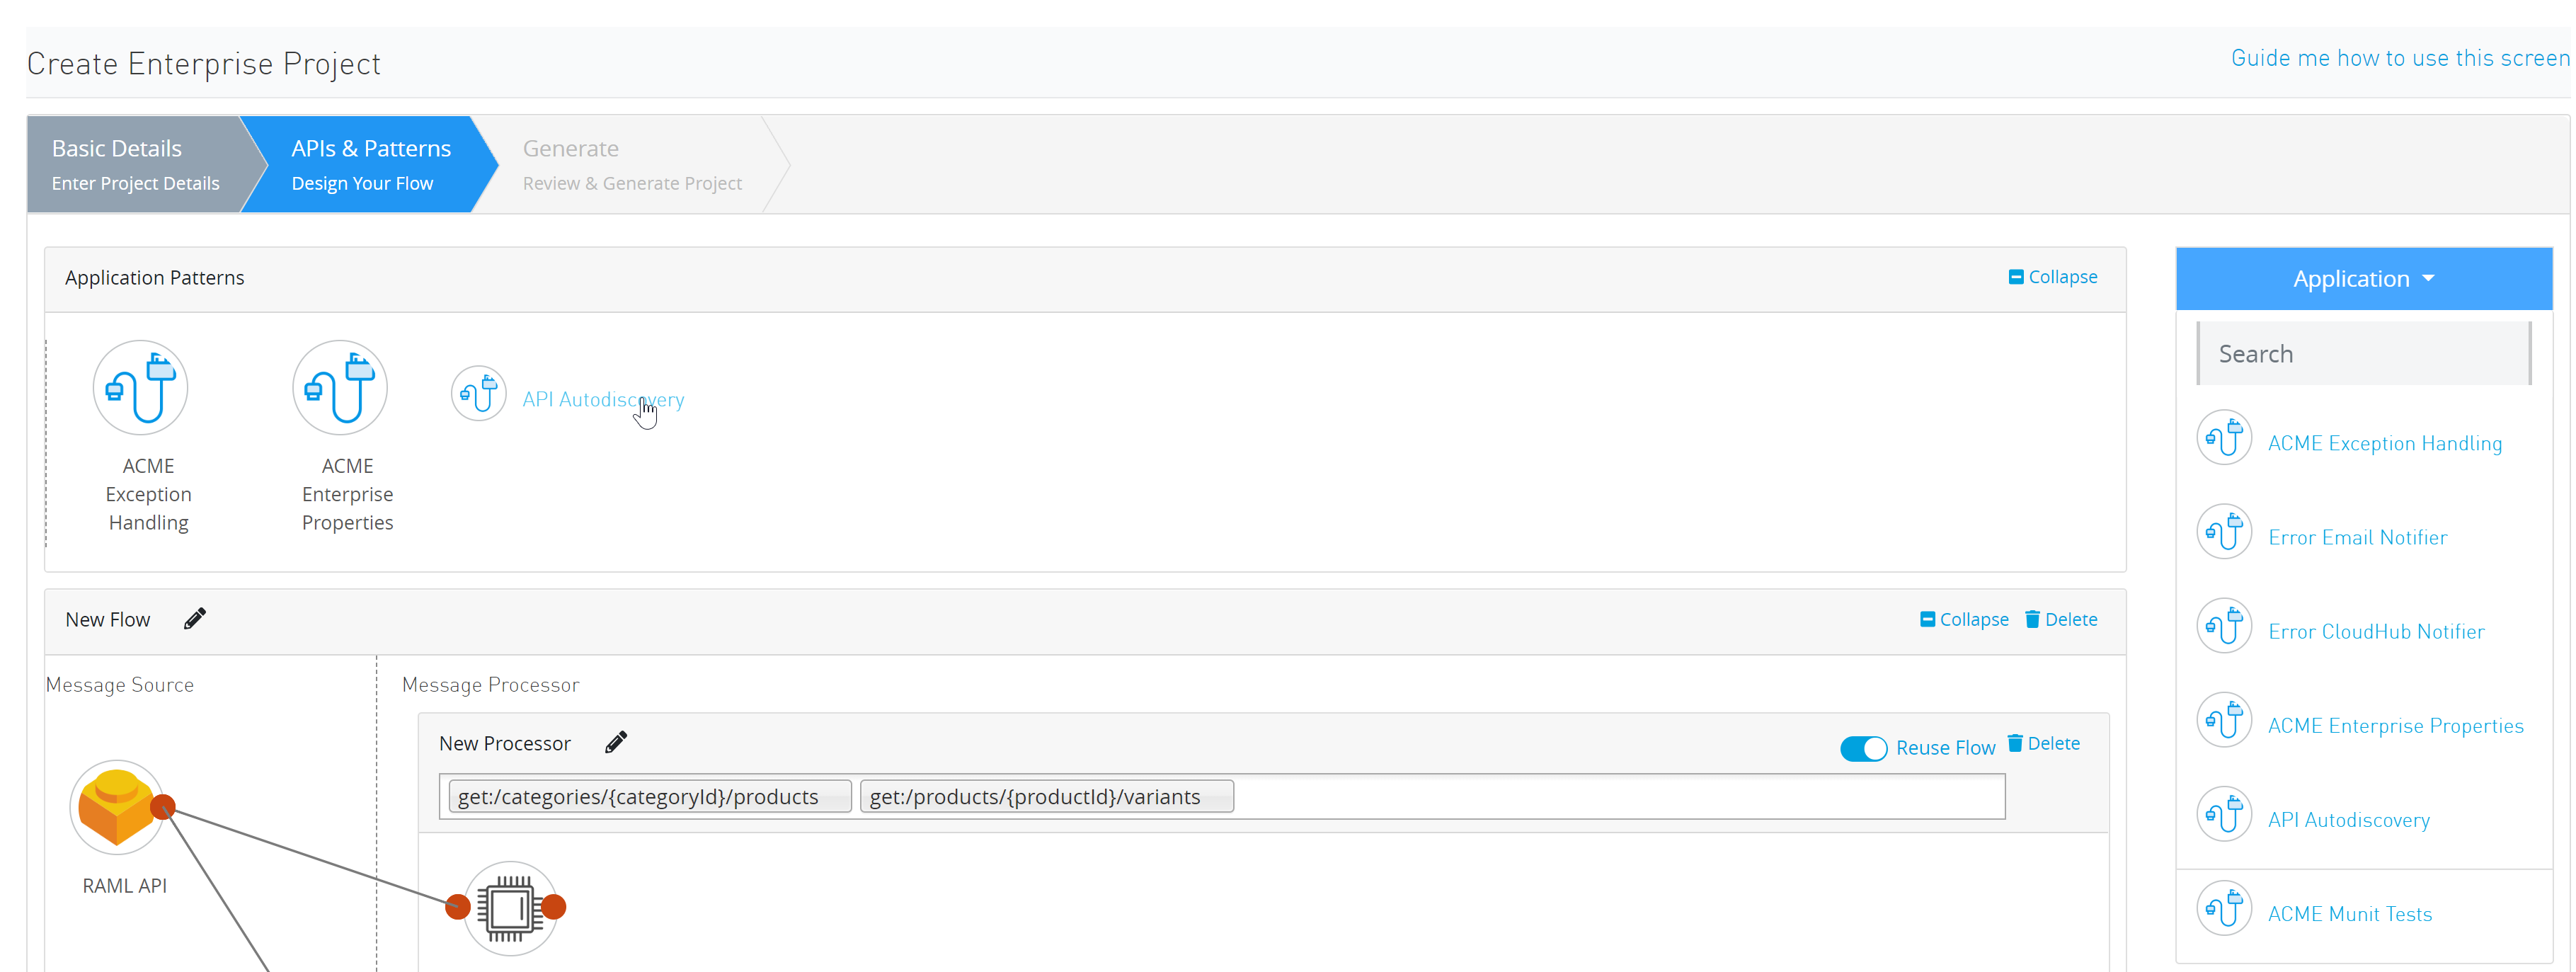
You can add optional application patterns to the interface design to enhance the capabilities of the integration solution. You can see a couple of application patterns added to the integration flow below. Once you are happy with interface definition, please click "Next".
-
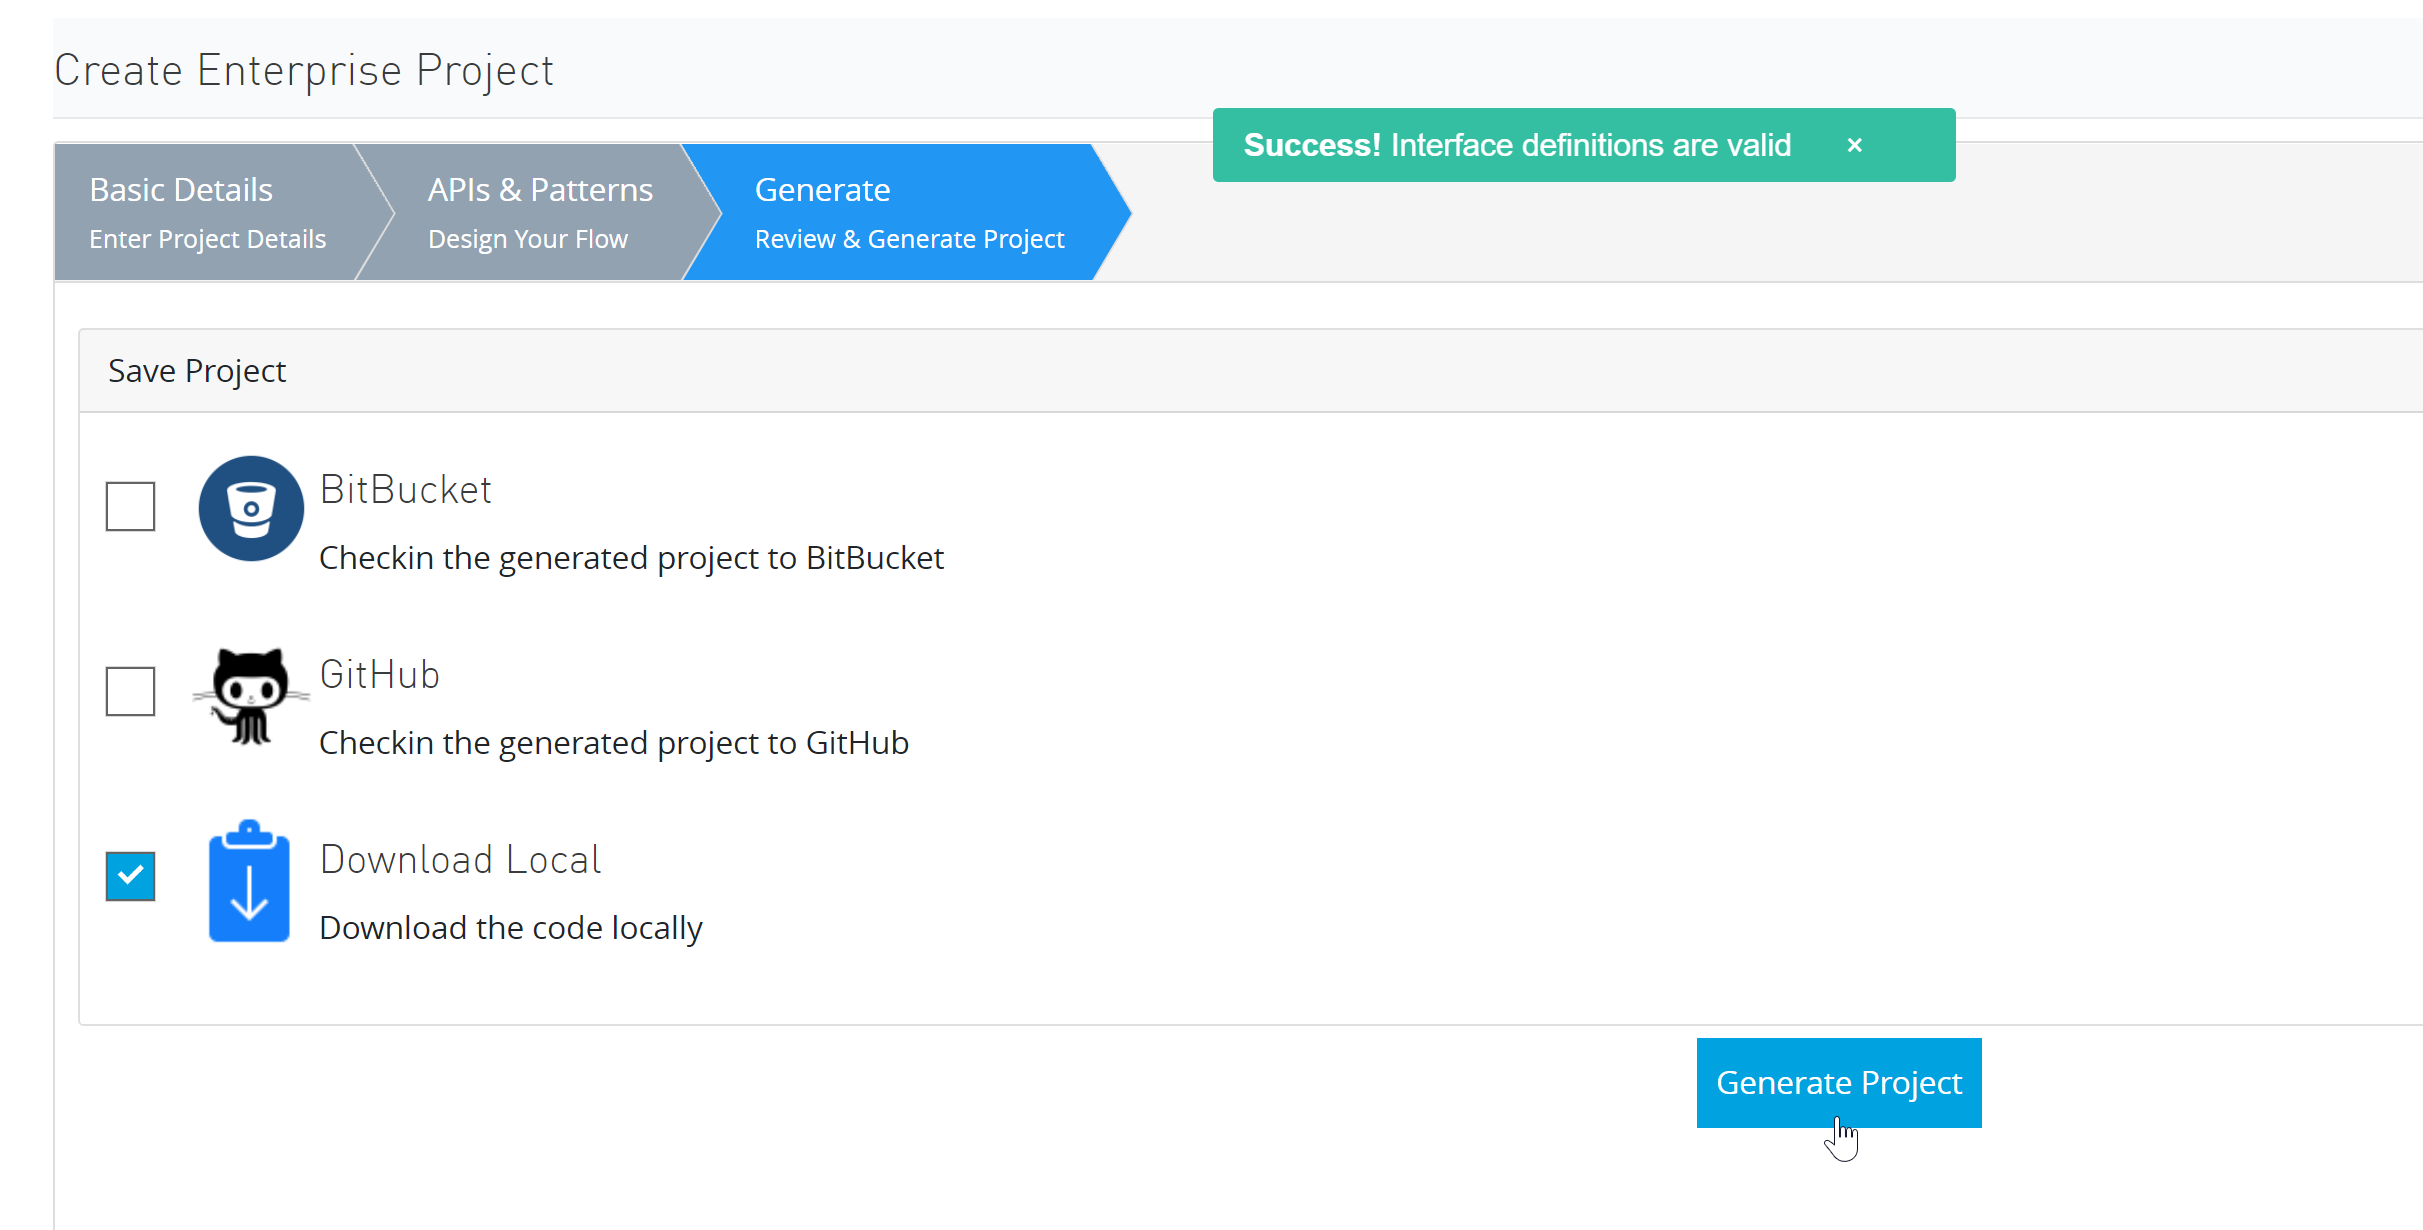
Options for saving the generated project will be shown in Generate section of the wizard. By default Download Local option will be selected.
-
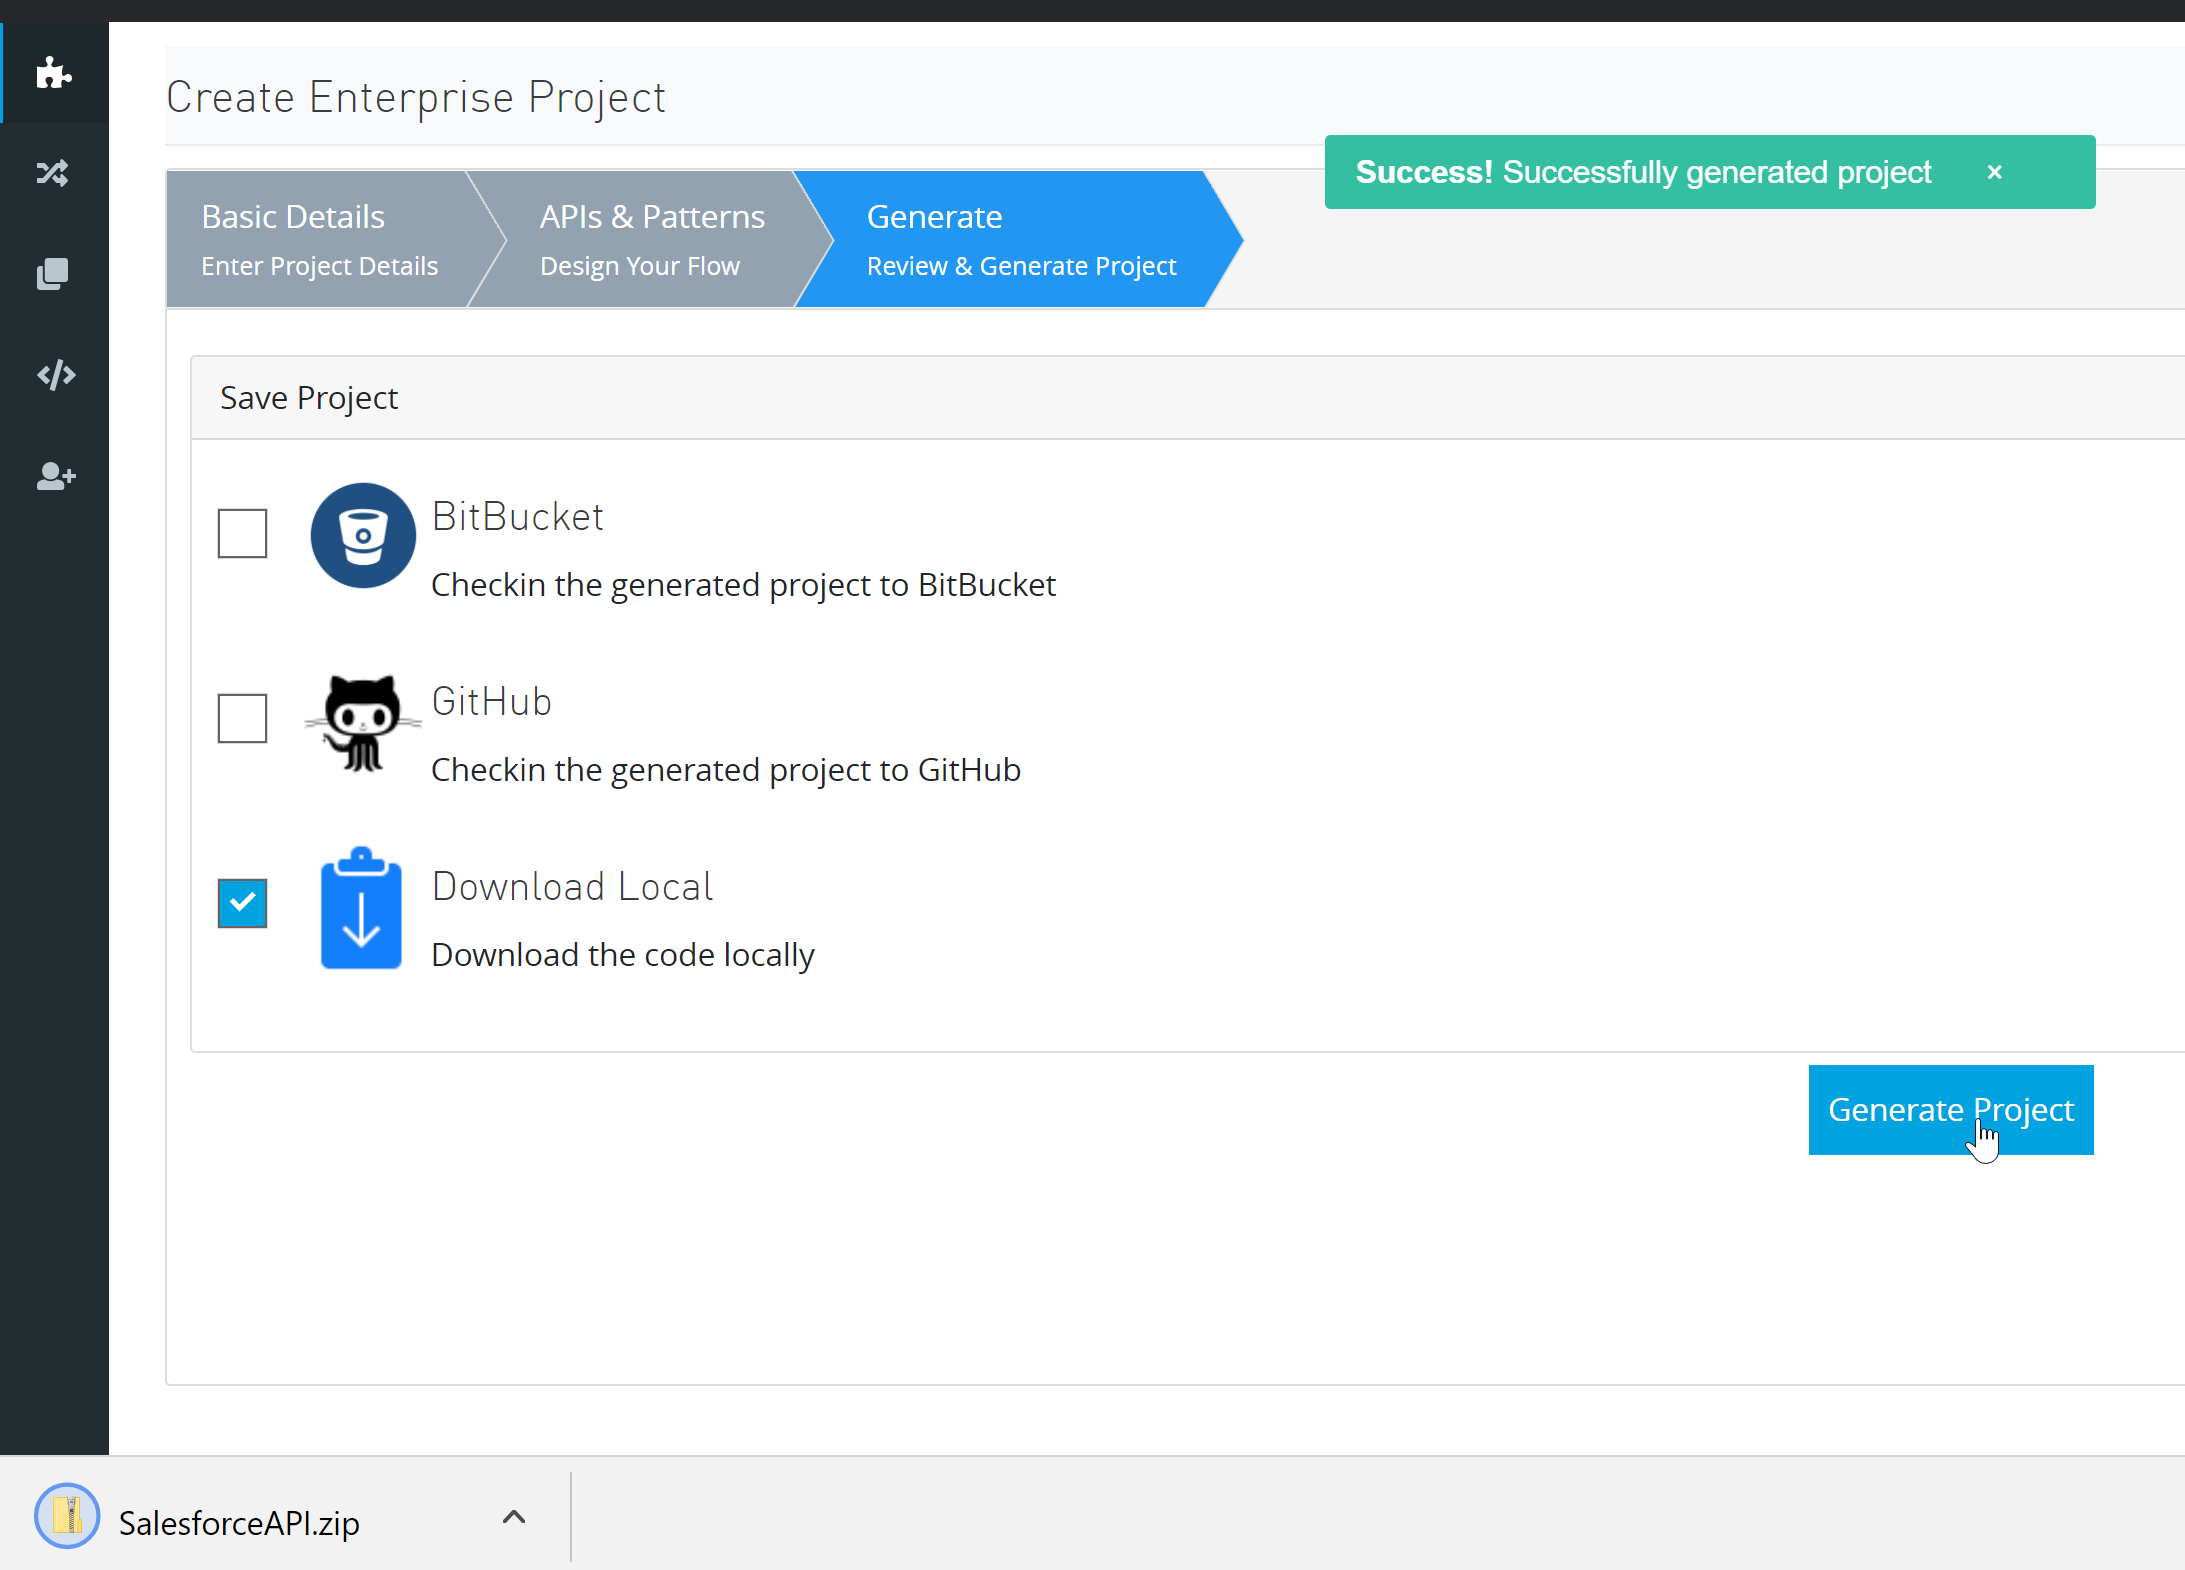
If you click "Generate Project" button, the project will get generated based on the selected setting. In the example below, the project will be generated as a zip file and will be downloaded by the browser.
-
If you select other option (like Bitbucket), additional configuration options will be required to be provided. Based on information provided, different options like Repository Selection and Branch Selection will need to be performed.
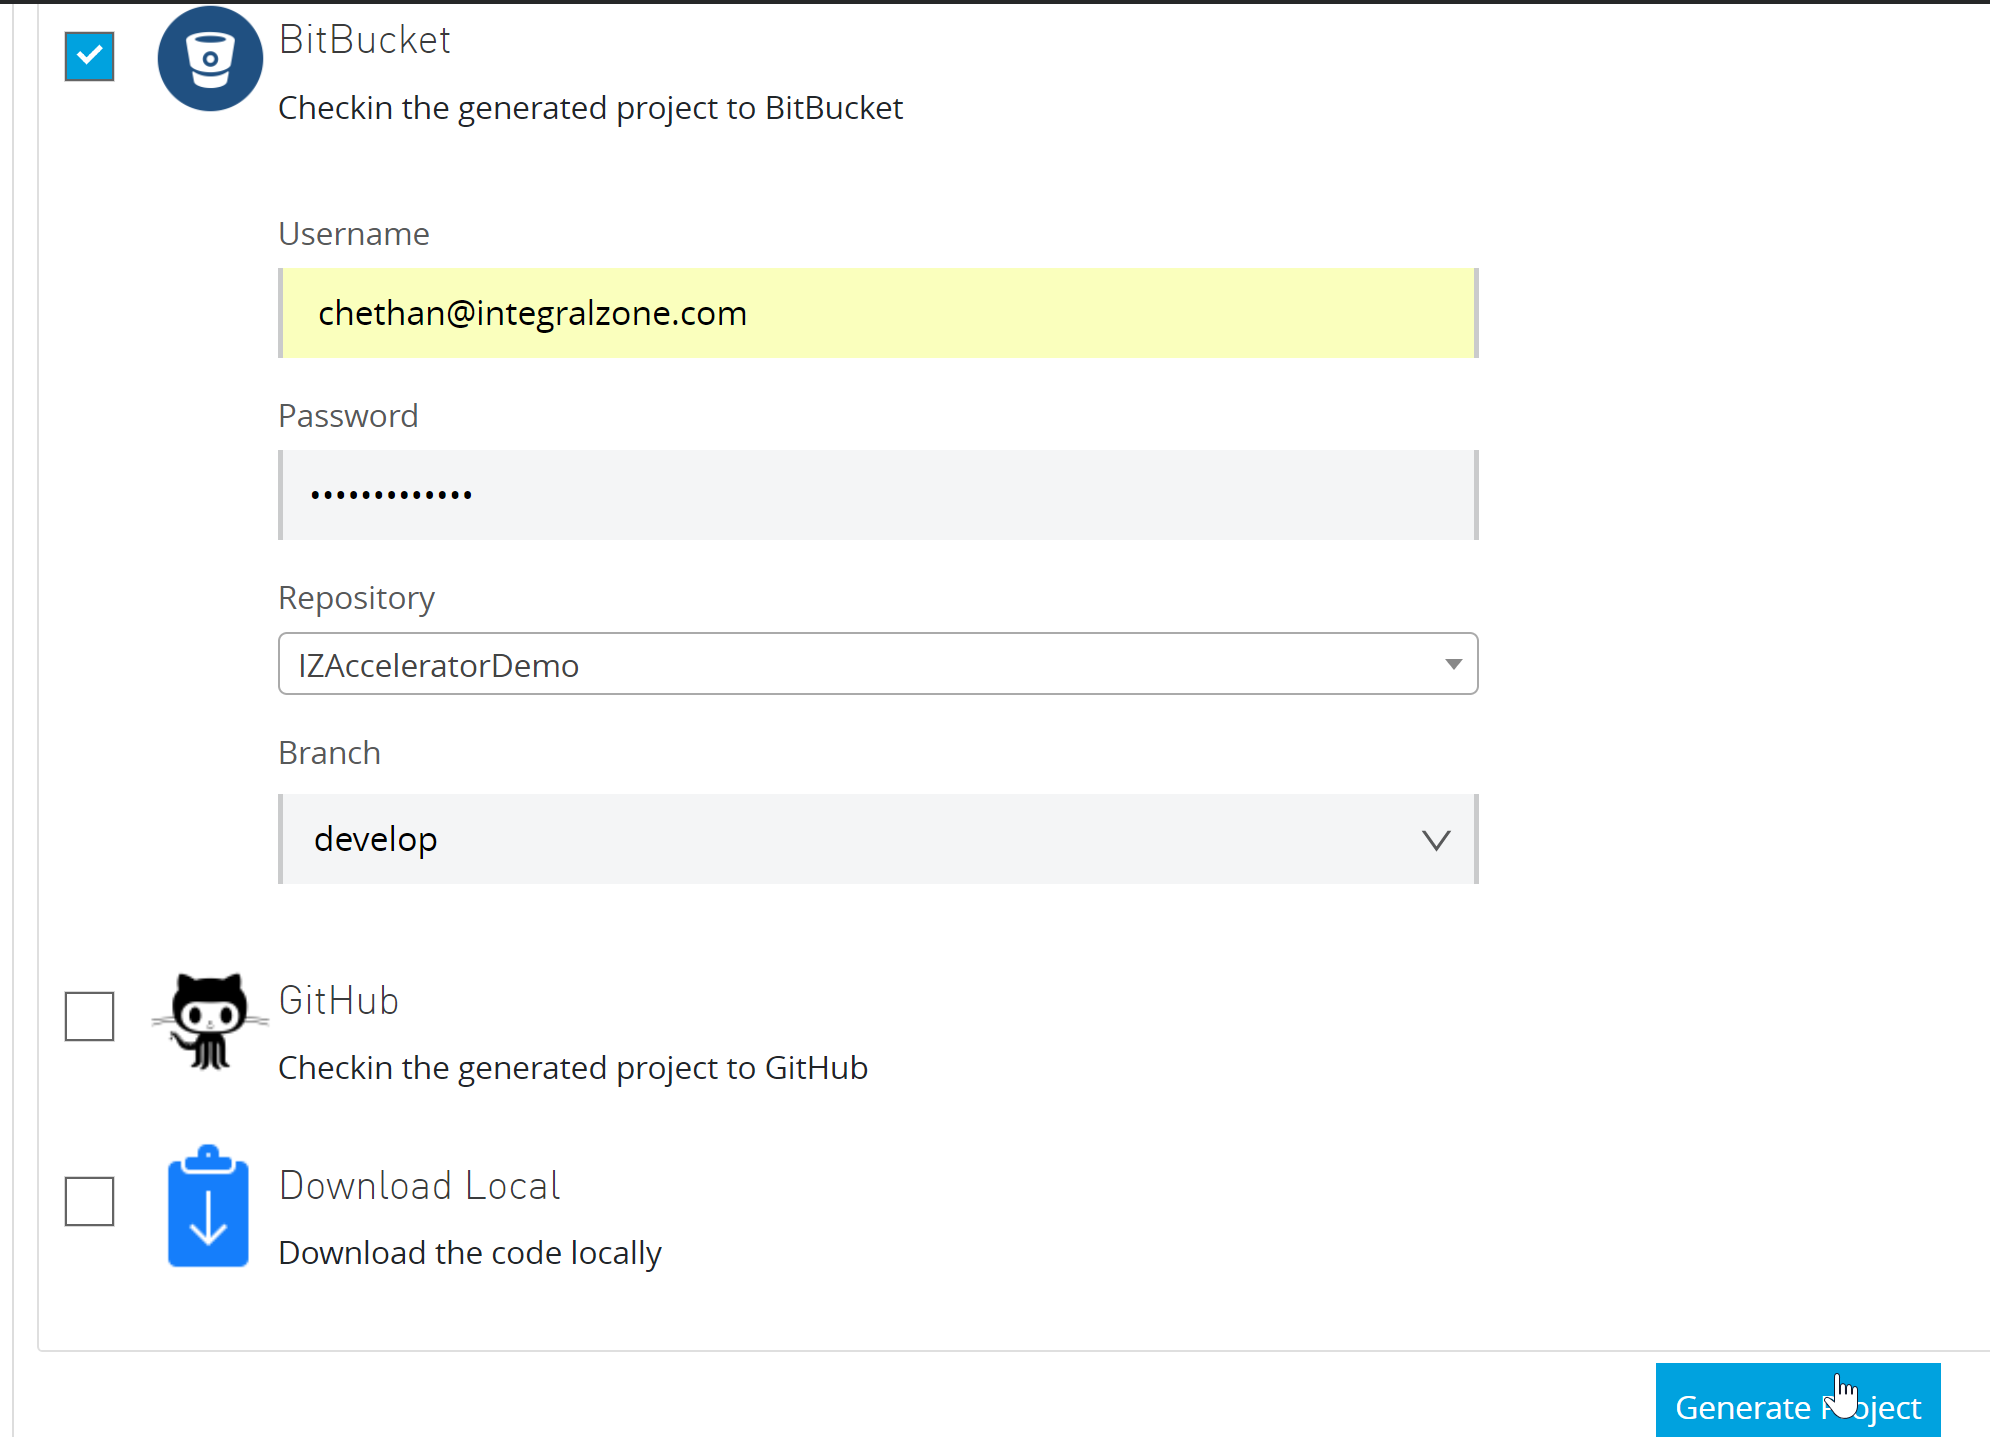
-
If "Generate Project" operation is performed with valid Bitbucket settings, the generated project code will be committed directly into Bitbucket with initial commit message from the IZ Accelerator.
