Subscribe To IZ Suite
The AWS Marketplace is an online store that makes it easy for customers to start using IZ Suite and its services that run on the Amazon Web Services (AWS) cloud.
IZ Suite is a powerful code scanning tool meticulously crafted to ensure the seamless operation of your Live MuleSoft projects. As your vigilant ally, it continuously monitors active MuleSoft projects in real time, scrutinizing every line of code for potential quality issues.
With IZ Suite by your side, say goodbye to manual code reviews and time consuming inspections. Our cutting-edge tool swiftly identifies code quality issues, potential bugs, and security vulnerabilities, allowing you to address them proactively before they escalate.
Marketplace Listing
-
Navigate to
AWS Marketplace- https://aws.amazon.com/marketplace -
Search for
IZ Suite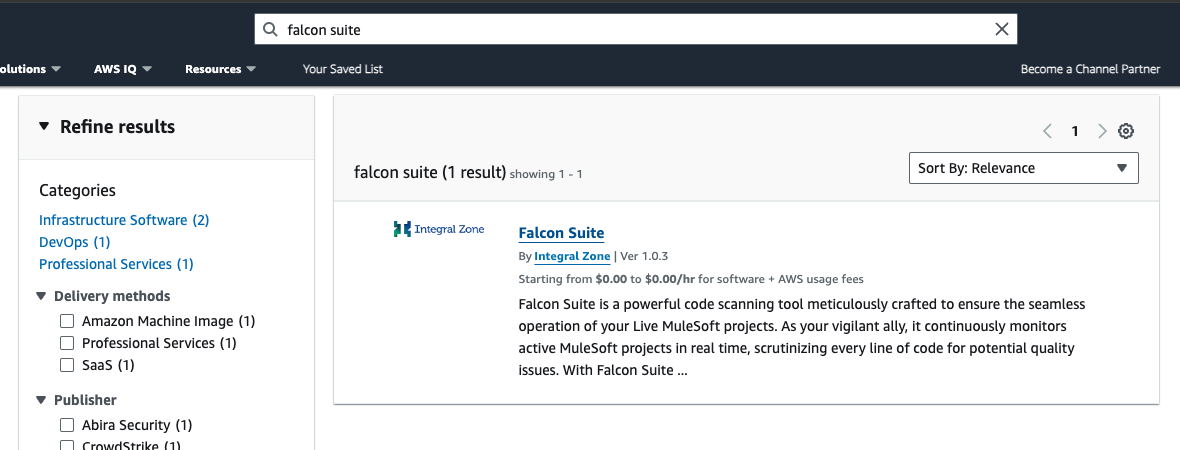
How To Subscribe
-
Click on
Continue to Subscribe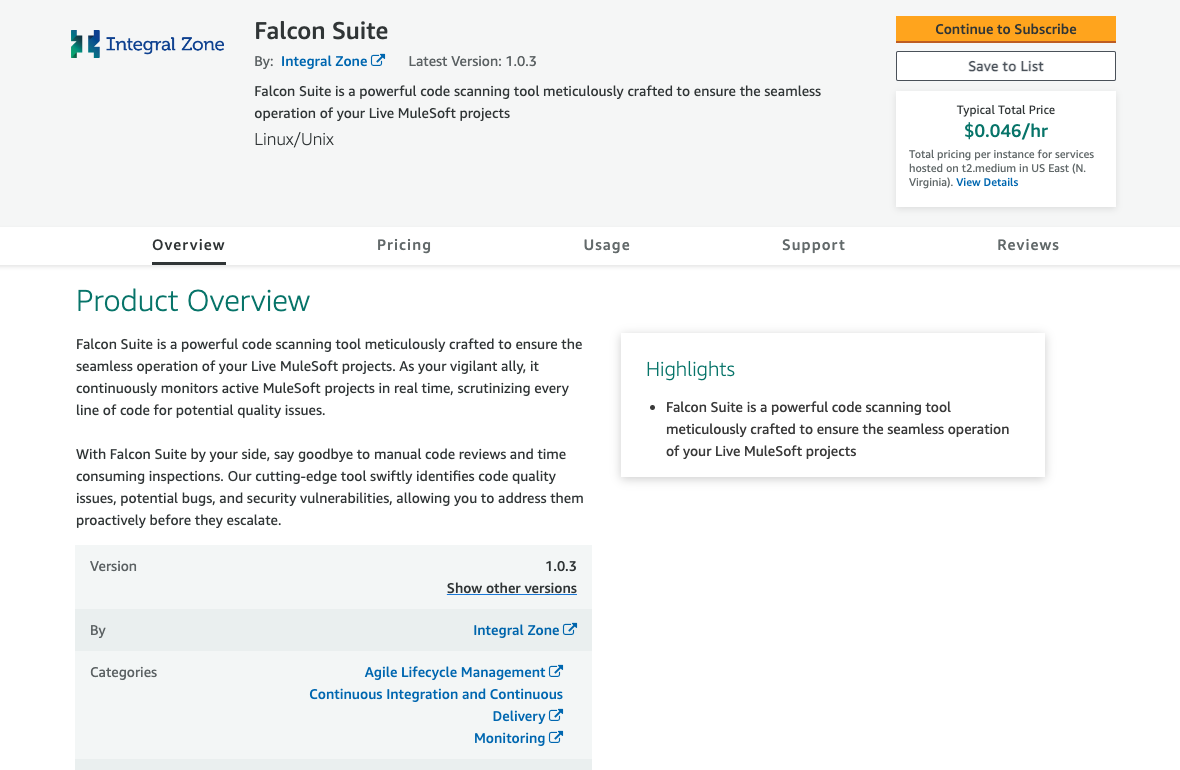
-
Click on
Continue to Configure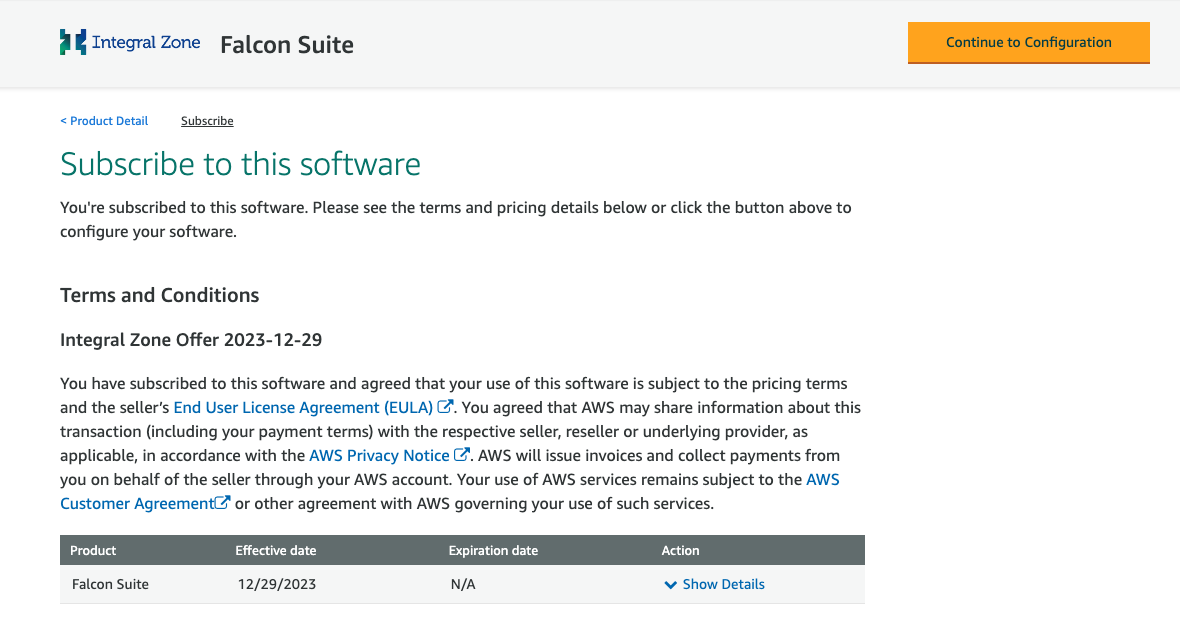
-
Select the software version, Fulfillment option, region and click on
Continue to Launch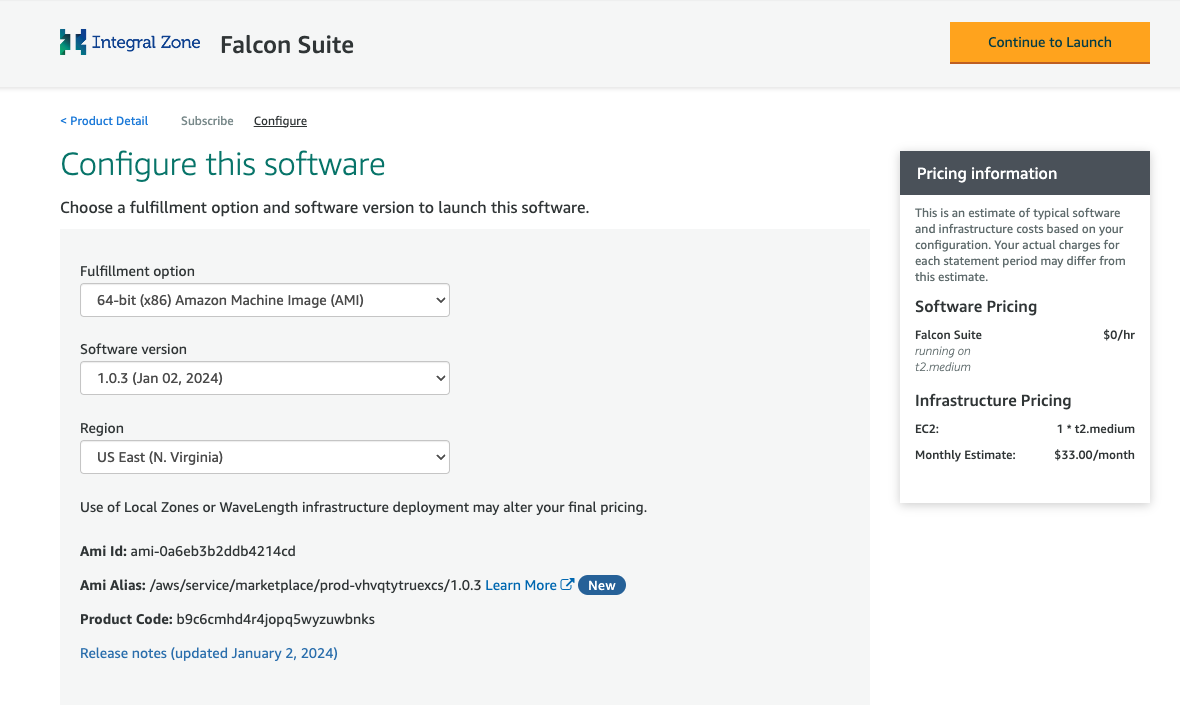
-
Select the instance type, VPC Setting, Subnet Setting, Security Group and click on
Launch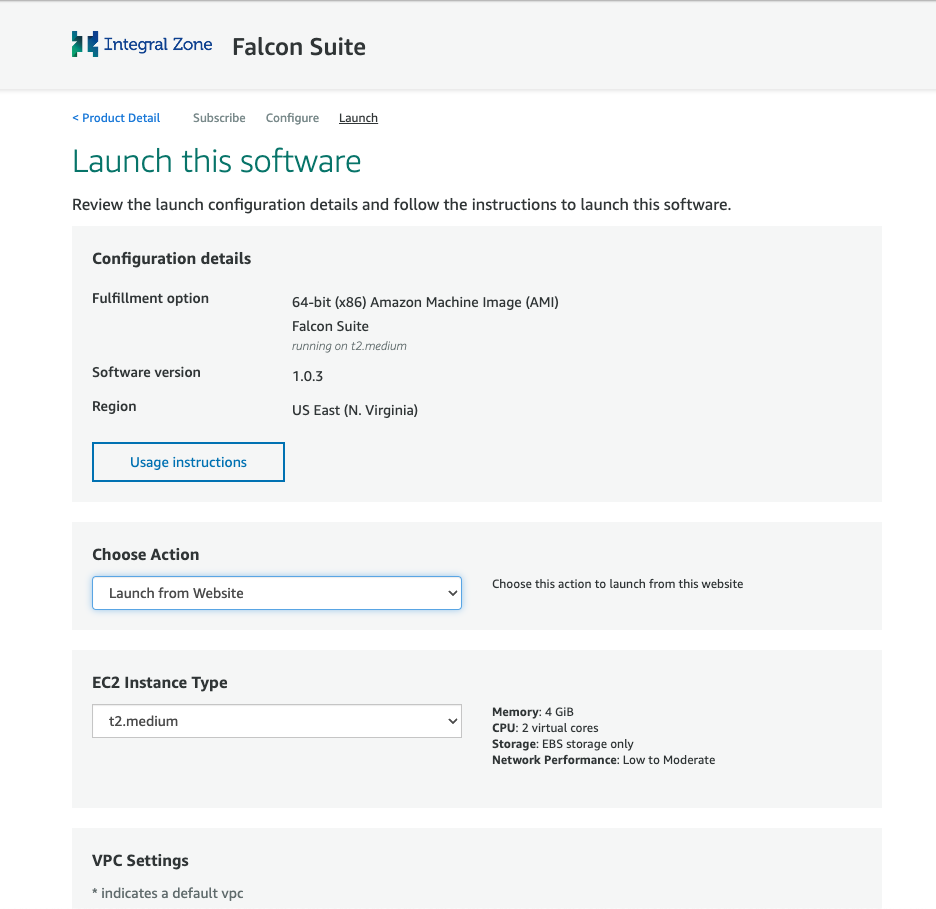
-
A new EC2 instance will be created in the selected region
Create a Database
|
-
Login to AWS managemant console. https://aws.amazon.com/console/
-
Navigate to
Services→RDSand click onCreate Database -
Select
PostgreSQLengine type, username, password, storage, backup options and click onCreate Database
-
Click on the created RDS database instance and copy the endpoint
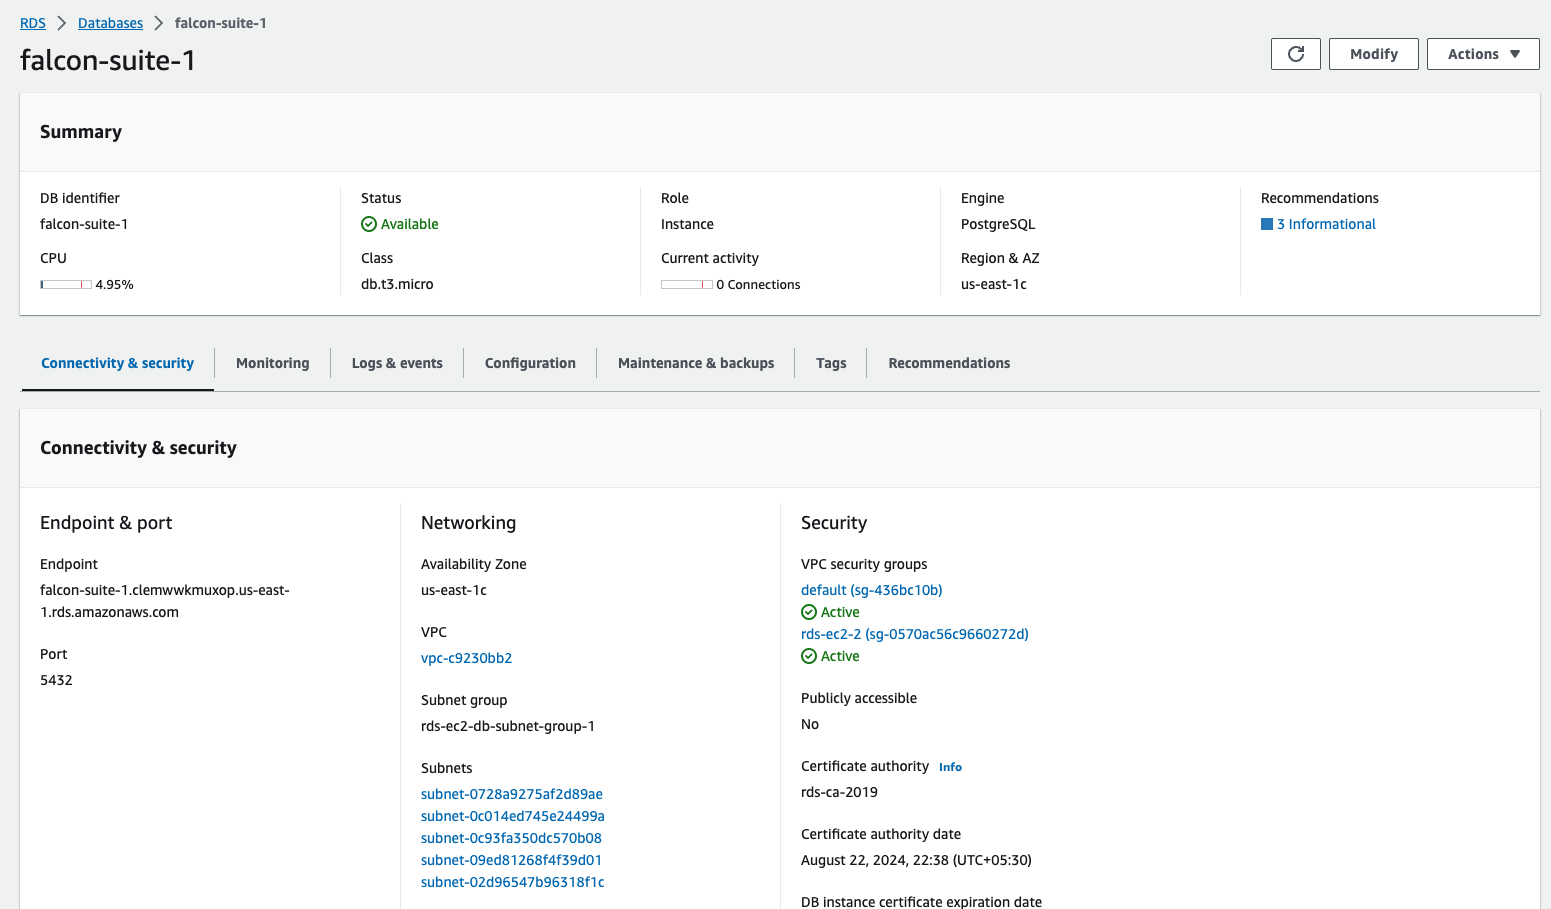
-
Click on
Actions→Setup EC2 Connection. Select the EC2 Instance created earlier and click onContinueto setup the connection between EC2 and RDS.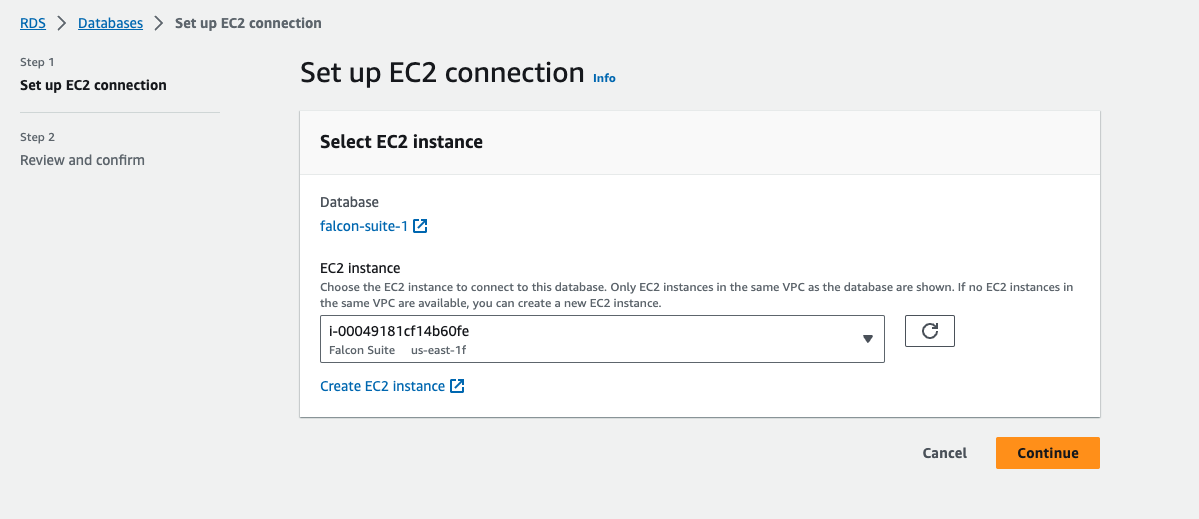
Configure Database details and start the server
-
Login to the created EC2 instance using the downloaded pem file. Eg: ssh -i <downloaded.pem> ubuntu@<publicip>
-
Navigate to
/home/ubuntu/falcon-server -
Open .env.defaults file and update the database connection details
-
Search for
DATABASE_URLkey replace thedbhost,port,username,passwordanddbname
-
-
Navigate to /home/ubuntu and start the IZ suite server
-
./start-falcon-suite.sh
-
-
This will run the IZ server and cloud agent in background
-
Navigate to
http://<publicip>:8910in the browser
Configure SSO
|
-
If the instance is being configured for the first time or to configure IZ Suite with Anypoint SSO follow the documentation here - IZ Initial Setup