Subscribe To IZ Suite
The AWS Marketplace is an online store that makes it easy for customers to start using IZ Suite and its services that run on the Amazon Web Services (AWS) cloud.
IZ Analyzer suite consists of Mule and API components for implementing enterprise grade Source Code Analysis along with a cloud offering of IZ Analyzer
Marketplace Listing
-
Navigate to
AWS Marketplace- https://aws.amazon.com/marketplace -
Search for
IZ Analyzer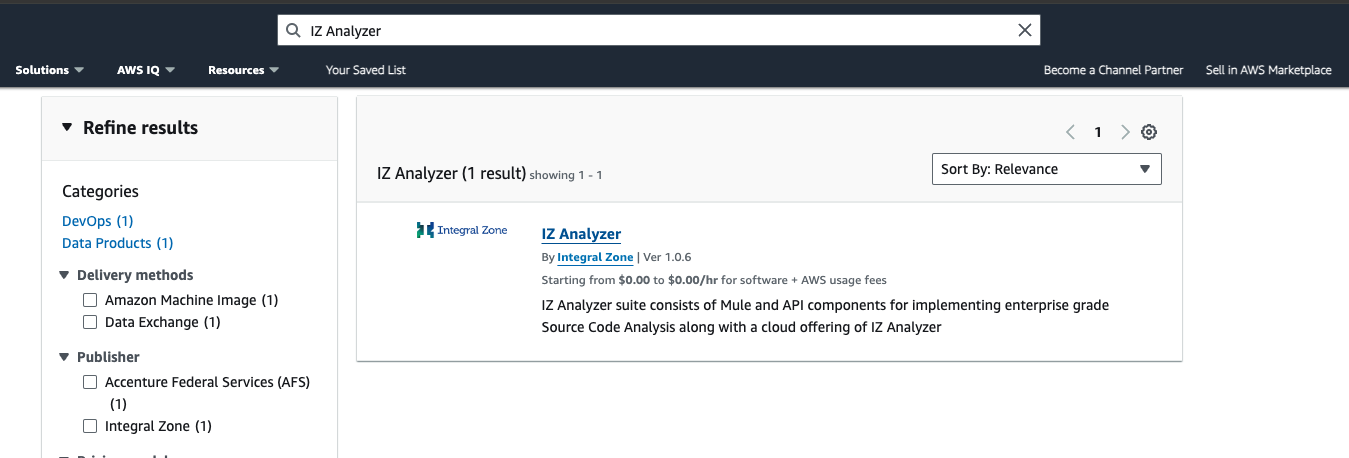
How To Subscribe
-
Click on
Continue to Subscribe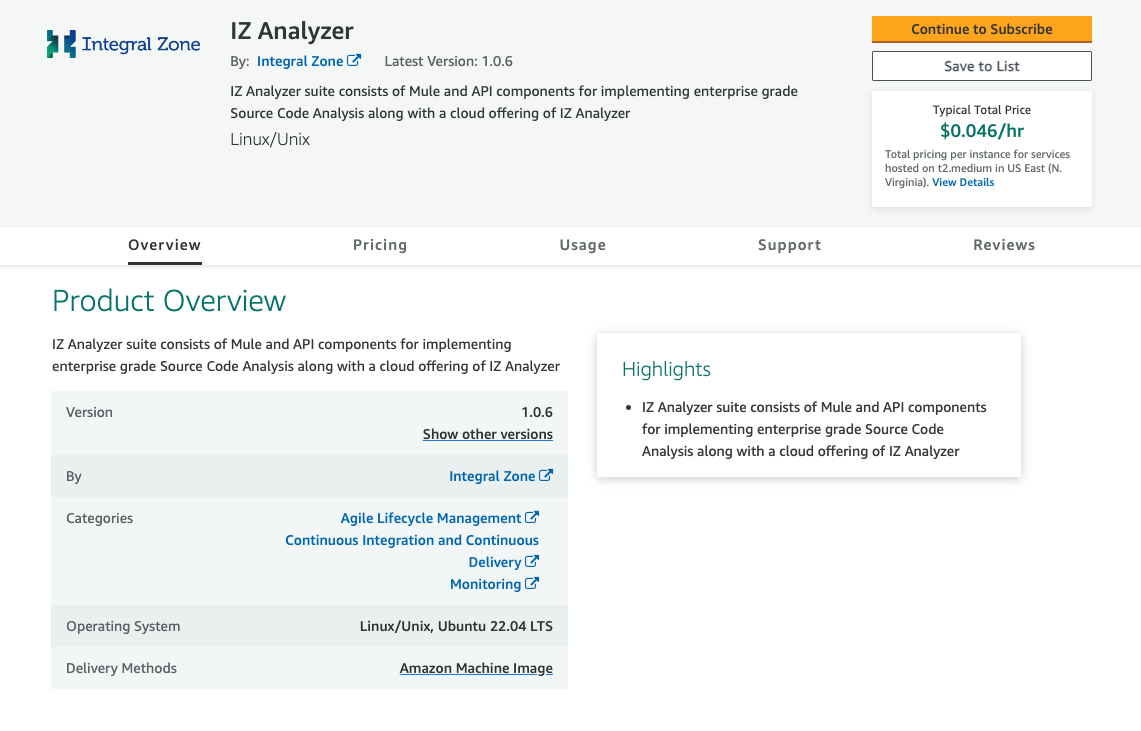
-
Click on
Continue to Configure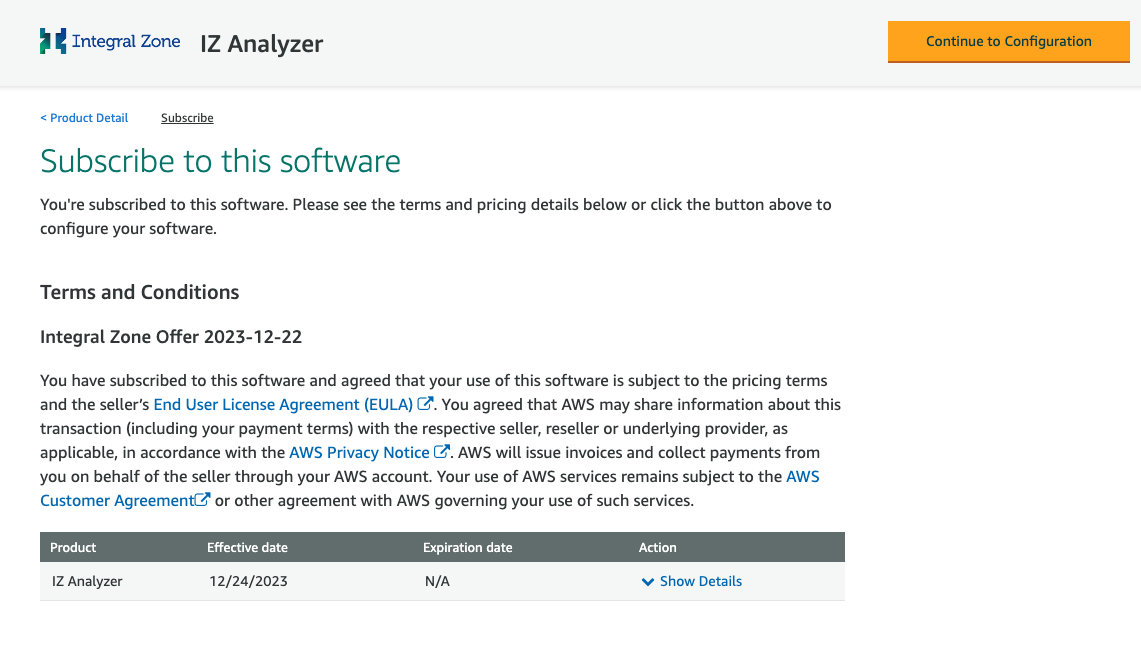
-
Select the software version, Fulfillment option, region and click on
Continue to Launch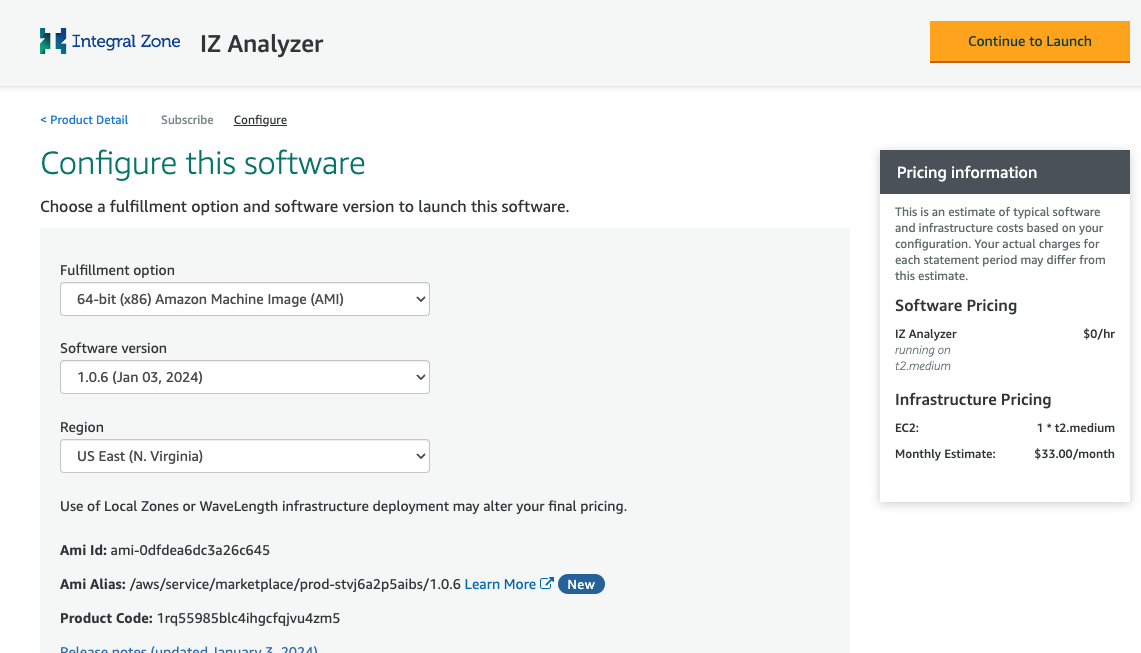
-
Select the instance type, VPC Setting, Subnet Setting, Security Group and click on
Launch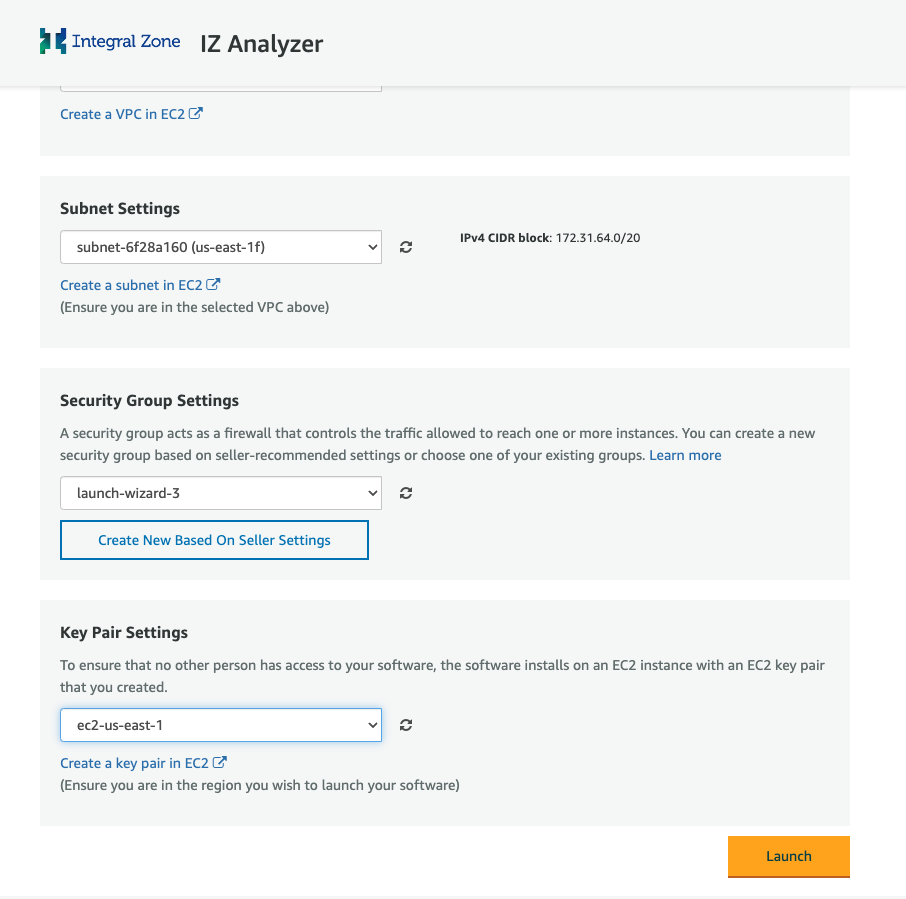
-
A new EC2 instance will be created in the selected region
Create a Database
|
-
Login to AWS managemant console. https://aws.amazon.com/console/
-
Navigate to
Services→RDSand click onCreate Database -
Select
PostgreSQLengine type, username, password, storage, backup options and click onCreate Database
-
Click on the created RDS database instance and copy the endpoint
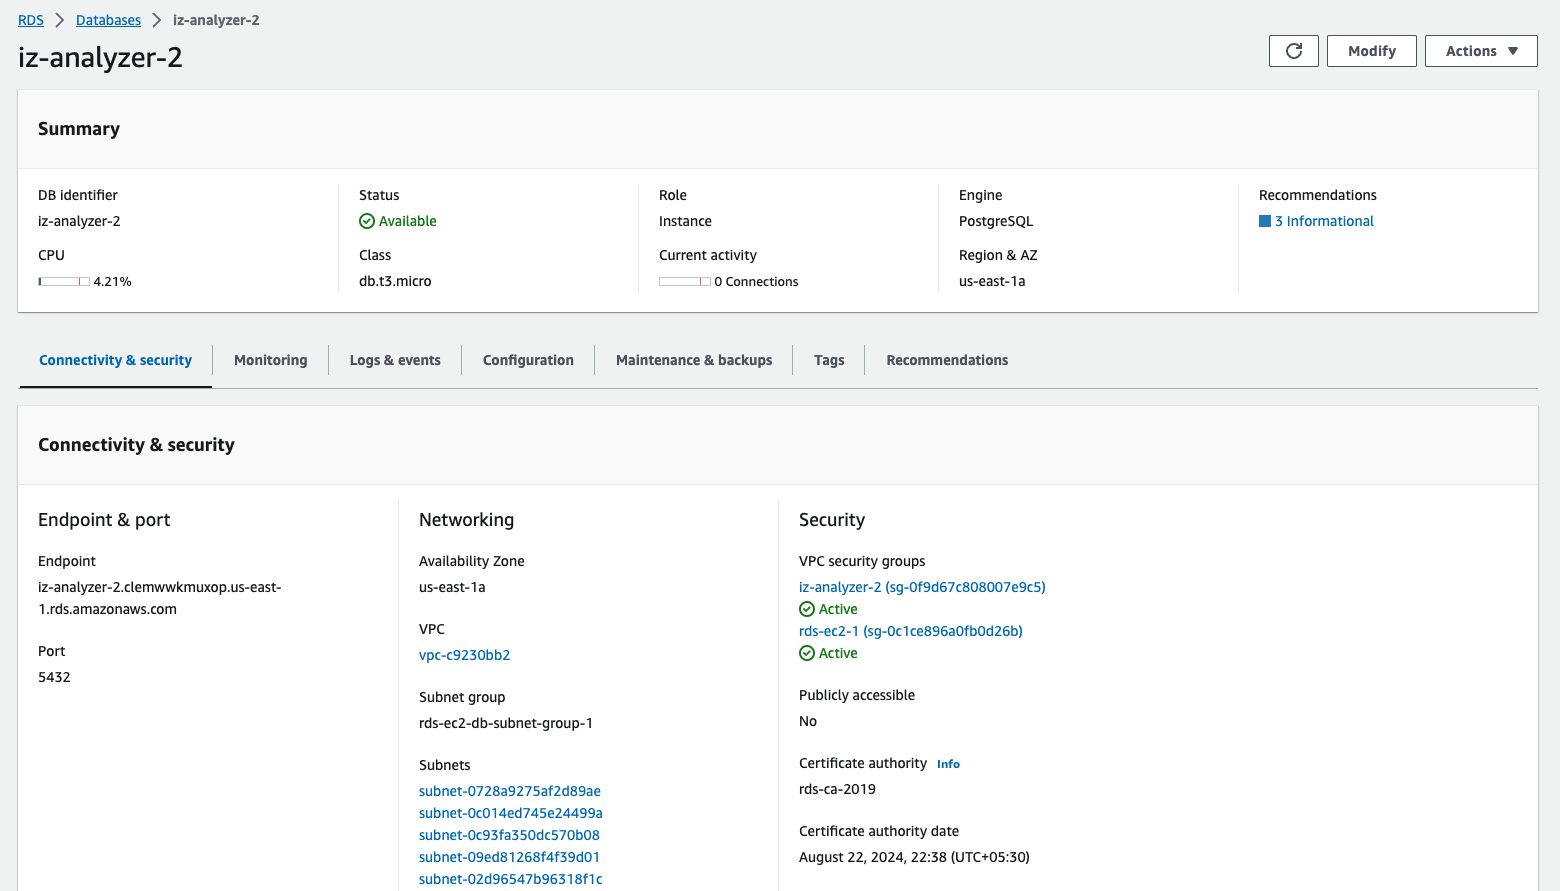
-
Click on
Actions→Setup EC2 Connection. Select the EC2 Instance created earlier and click onContinueto setup the connection between EC2 and RDS.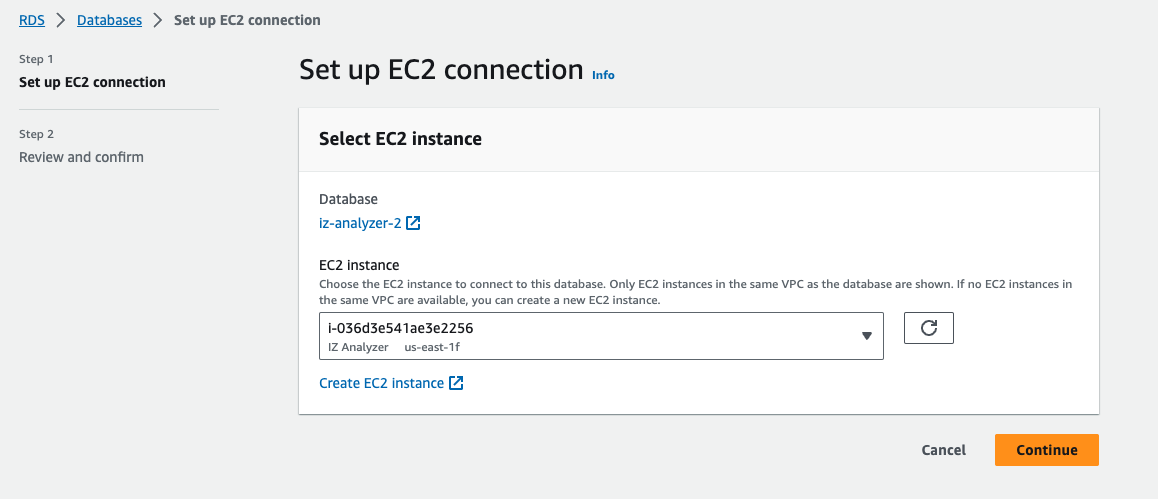
Configure Database details and start the server
-
Login to the created EC2 instance using the downloaded pem file. Eg: ssh -i <downloaded.pem> ubuntu@<publicip>
-
Navigate to
*/home/ubuntu/sonarqube.x.x.x/conf -
Open sonar.properties file and update the database connection details
-
sonar.jdbc.url- Update the RDS host, port and database name -
sonar.jdbc.username- RDS username -
sonar.jdbc.password- RDS password
-
-
Navigate to /home/ubuntu/sonarqube.x.x.x/bin/linux-x86-64 and start the server
-
./sonar.sh start
-
-
This will run the server in background
-
Navigate to
http://<publicip>:9000in the browser