Configure External Client App
An External Client App in Salesforce is required to securely connect to Salesforce REST APIs because it establishes a trusted integration identity for IZ Suite within the Salesforce ecosystem. When IZ Suite scans Apex classes, triggers, and metadata through Salesforce APIs, it must authenticate using OAuth 2.0 rather than relying on individual user credentials.
Creating an External Client App defines the appropriate OAuth scopes, and allows administrators to control which users or system contexts can authorize the app. This ensures secure, token-based, and auditable access to Salesforce REST and Tooling APIs, enabling IZ Suite to perform automated code scanning and metadata analysis in a controlled, enterprise-compliant manner.
Configuring the Client App in Salesforce
Follow the below steps to create a Bot User in Salesforce -
-
Navigate to
Setup→Users→ and click onNew User -
Enter the basic details
-
First Name- -
Last Name- -
Email- -
Role- Nothing to be specified -
User License- Select Salesforce -
Profile- Select System Administrator
-
-
Save the User accepting the other default values
Follow the below steps to create Permission Set in Salesforce -
-
Navigate to
Setup→Users→Permission Setsand click onNew -
Enter a name for the permission set and click on Save
-
Once the Permission Set is created in the
Permission Set Overview→ System Permissions`, click on Edit and choose the following permissions --
API Enabled -
Author Apex
-
-
Click on Save
-
Once the Permission Set is saved, click on
Manage Assignments→Add Assignments -
Select the new bot user created in the above step and assign the user.
Follow the below steps to create an External Client App in Salesforce -
-
Navigate to
Setup→Apps→External Client Apps→External Client App Managerand click onNew External Client App -
Enter the basic details and select
Localdistribution type -
Under
OAuth Settingsenable OAuth-
Callback Url- https://login.salesforce.com -
Add
Manage Users Data via APIsandPerform Requests at any time (refresh token, offline access)scopes -
Under
Flow EnablementselectJWT Bearer Workflow -
Generate the certificates using the below commands
openssl genrsa -out server.key 2048 openssl req -new -x509 -key server.key -out server.crt -days 365 -
Upload the public key (Eg: server.crt). Make sure the
server.keyis kept safe as we will need it while configuring the auth in IZ Suite.
-
-
Click on Create
-
Once the app is created, edit the app and update the following
-
Permitted Users→Admin Approved users are pre-authorized -
Under Select Profiles choose
System Administrator -
Under Select Permission Sets choose the new Permission Set created in the above step
-
-
Save the settings
Retrieve the External App’s Client ID
-
Navigate to
Setup→Apps→External Client Apps→External Client App Managerand click on the created client app -
Click on
Settings→OAuth Settings→Consumer Key and Secret
-
The displayed
Consumer Keyis the Client Id, which will be used while configuring the Client app in IZ Suite
Configuring the Client App details in IZ Suite
-
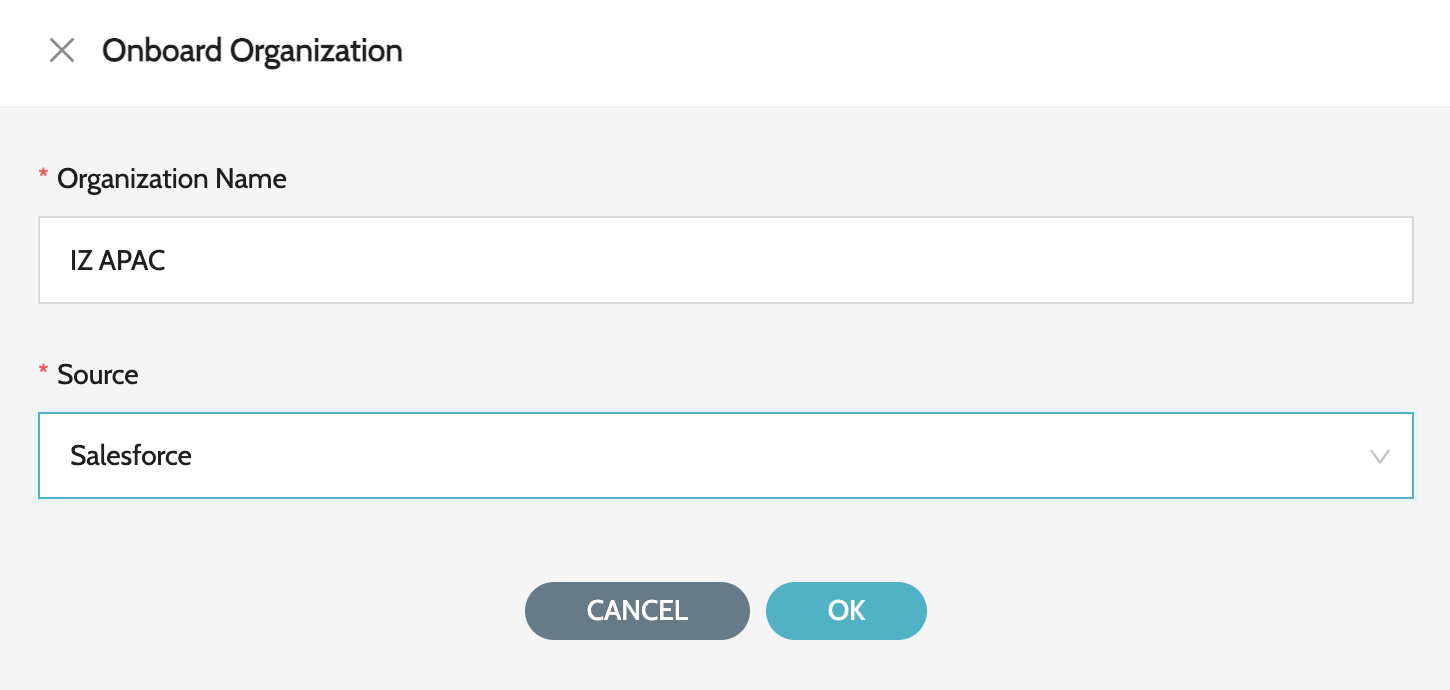
Navigate to main menu
Organization→My Organizationsand click onOnboard Organization -
Enter the following details -
-
Organization Name- The name of the Organization. For example -IZ APAC -
Source- ChooseSalesforceas source
-
-
Click on save.
-
Once the Organization is created, click on the
View Environmentsaction item -
Click on
Create Environmentto create a new environment -
Enter the following details -
-
Environment Name- The name of the Environment. For example -SandboxorProduction -
Is Production- Should be checked if the environment type is production -
Instance URL- Salesforce instance URL -
Client Id- Client Id retrieved from the Salesforce External Client App -
User Name- Name of the user assigned to the External Client App -
Private Key- Contents of the private key generated from the previous step. (Eg: Contents of server.key)
-
-
Follow the same steps to add additional environments or organization
Configuring Role for accessing IZ Eye
Once the environment is configured, create / edit a role add required permissions
-
Navigate to main menu
Organization→Rolesand click onCreate Role -
Enter the following details
-
Role Name - Name for the role Eg; IZ APAC IZ Eye Admin
-
Permissions - Expand
IZ Eye Salesforceand select the required permissions
-
Select the required organizations and environments to associate with the role

-
-
Click on Submit
Once the role is configured, assign the same to users based on the requirement
-
Navigate to main menu
Organization→Usersand click onAssign Roles to Useraction item -
Click on the
Unassignedtab and select the required roles -
Click on save